Visiting a Wildlife Park
The author of this tutorial is Gordon Sisson. Mr Sisson used the stand-alone version on a Mac Pro machine.
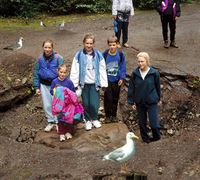
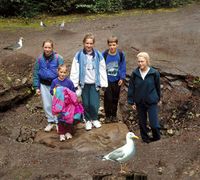
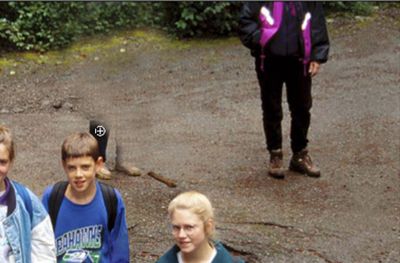
Often, when on vacation, people will ask a passing stranger to take a picture of their group with their camera. Before digital, they would not see the picture until many days later. Very often, the result was less than wonderful. Here is an example of people visiting a Wildlife Park. All is not lost — AKVIS MultiBrush to the rescue!
 |
 |
Before working save the picture as PNG file.
-
Step 1. Start AKVIS MultiBrush. Click on the button
 in the upper left corner and open the photograph.

People visiting a park -
Step 2. Select Clone Stamp Tool
 on the Toolbar, and check the Aligned box in the Settings Panel.
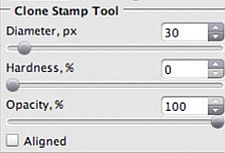
 With Aligned checked, your source point will follow as you clone to remove unwanted elements in the photograph. Choose a medium diameter brush size, soft (Hardness ie 0), Opacity high for a dense impression of the cloned area.
Option click on a source point to begin removing the unwanted figures. With broad horizontal strokes, eliminate the boy in the white shirt.
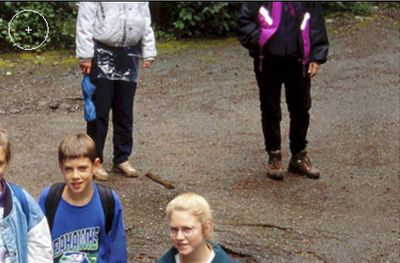
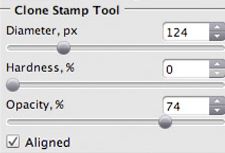
When you get close to the remaining figure in center of the picture, uncheck Aligned and adjust the brush smaller for closer work. You may enlarge the image with the navigation window (or using Zoom tool) to make this close cloning easier. Unchecking Aligned allows the source point to remain in the same position while providing the correct color and texture.
Repeat the cloning procedure until the second unwanted figure is gone. Remember, if you make a move that you don’t like, you simply click on the button
 to go back as many steps as you wish. This AKVIS program is so versatile and easy, you can use the Clone Stamp Tool to touch up any part of the new background so that nobody will perceive that the extraneous figures were ever there.
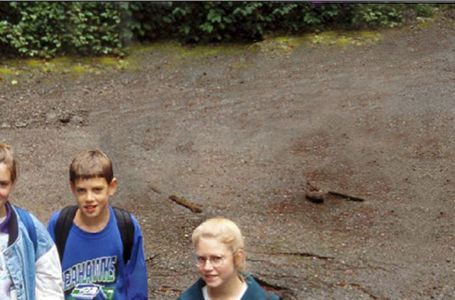
After Stamp -
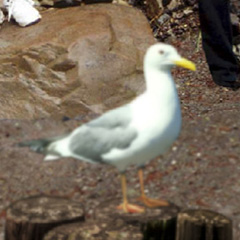
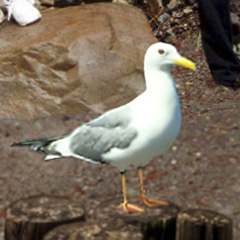
Step 3. Now this snapshot is a real picture. One more detail, the lovely gull in the foreground is so close to the camera that it is in soft focus. We can sharpen it with MultiBrush:
- With the scale slider, enlarge the gull to almost fill the Image Window.
- From the Toolbar on the left select the Sharpen tool
 .
.
- Set parameters of the brush in the Settings Panel:
-
Size = 27;
Hardness = 73;
Amount = 60;
Radius = 2.3.- Carefully caress the bird and its perch with the Sharpen brush until they are as sharp as the rest of the photograph.
-
Step 4. Click on button
 and save the final photograph to your desktop. This family now has a beautiful reminder of their holiday trip!

Result