Patchwork
The author of this tutorial is Chantal Meus.
Patchwork is one of the oldest forms of needlework. For 3000 years people have been using this technique to decorate their homes. The patchwork technique has become very popular all over the world. Would you like to learn it? Use AKVIS Decorator to create various designs for your future patchwork.
Chantal offered us her choice.
She used AliveColors, but you can work with any other photo editor, compatible with AKVIS Decorator.
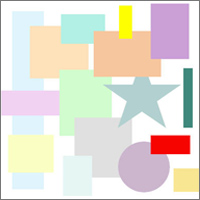 |
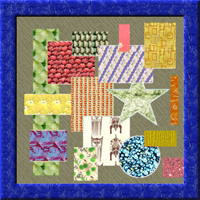 |
| Original image | Result |
- Step 1. Create a new file with the white background (400*400 px).
- Step 2. Select a rectangular area using Rectangular Selection
 . See the picture below.
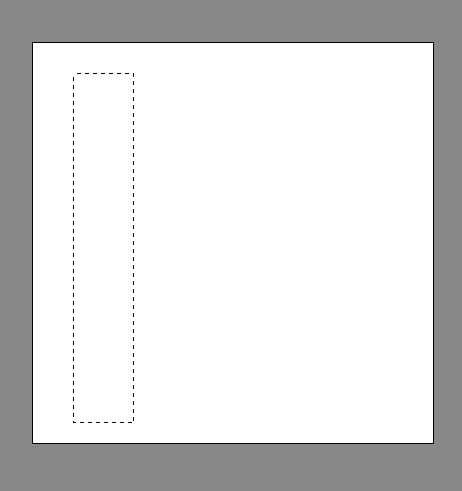
- Step 3. Paint over the rectangular area with the blue color using Paint Bucket
 tool.
tool.
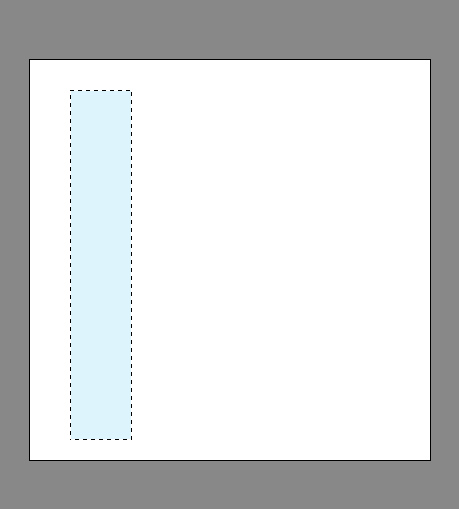
- Step 4. Deselect the area with a left-click.

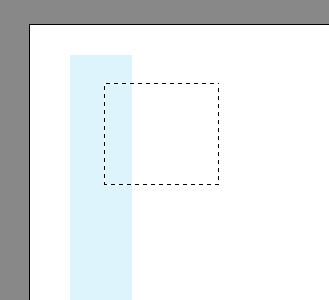
- Step 5. Choose the Rectangular Selection
 to select a square area.
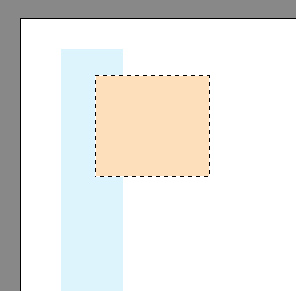
- Step 6. Call the Paint Bucket
 tool to paint the square area in pink.
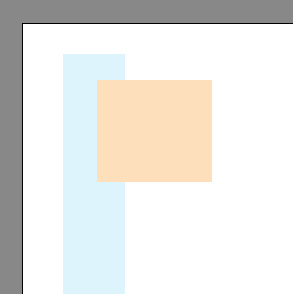
- Step 7. Remove the selection (Ctrl+D).
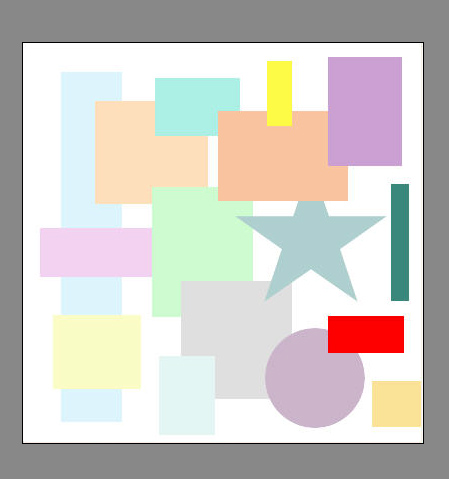
- Step 8. Then add other shapes to the canvas. Use any selection tool, for example Elliptical Selection
 . You 'd better use different colors for painting over the shapes. Here is the result:
- Step 9. Activate the Magic Wand
 and select the first rectangular.
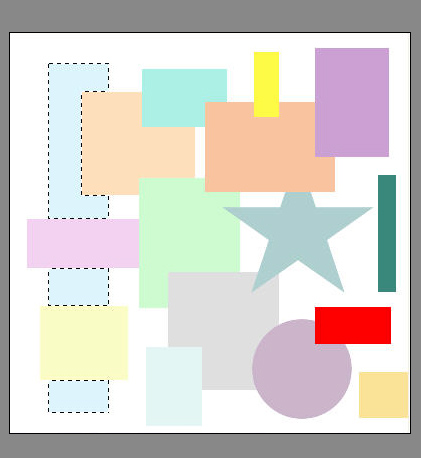
- Step 10. Call AKVIS Decorator from the main menu of the photo editor: Effects -> AKVIS -> Decorator.
Choose the Texture tab. A texture is chosen from the Texture Library. To open the Texture Library you should double-click with the left mouse button on the square with a sample texture. Set the values of the parameters.
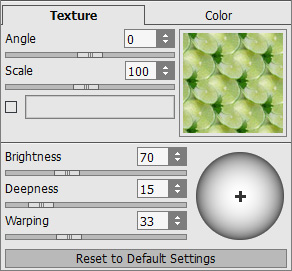
- Step 11. Press the button
 , the result will be shown in the Processing tab.
If you are satisfied with the result, press the button
 to apply the result and close the plugin window.
- Step 12. Select another shape using the Magic Wand
 .
.
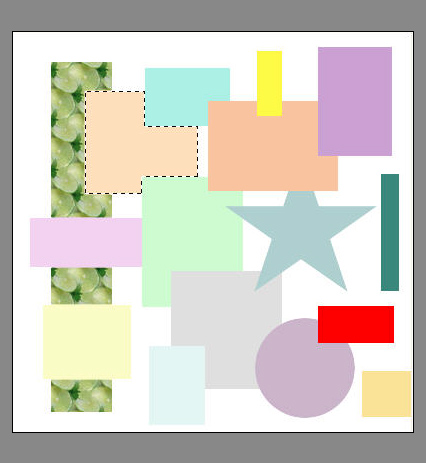
- Step 13. Call AKVIS Decorator again. Select s texture in the Texture Library. To open the Library you should double-click with the left mouse button on the square with a sample texture. Change the values of the parameters.
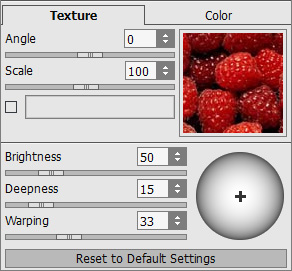
- Step 14. Click on the button
 to start the process, then click on the button
  to apply the result and close the plugin window.
- Step 15. Do the same steps for other shapes to decorate them.
- Step 16. Select the background using the Magic Wand
 .
.
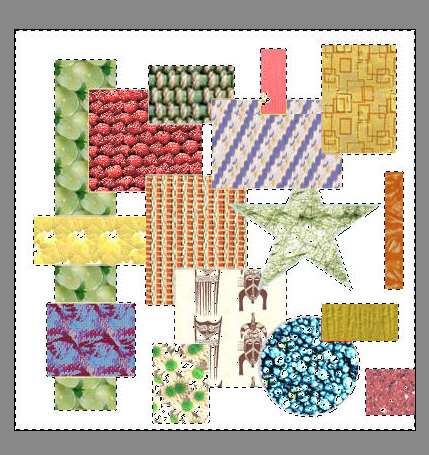
- Step 17. Call AKVIS Decorator. Select a new texture in the Library. Then set the values of the parameters.
The author used the Metal texture and set the following values:
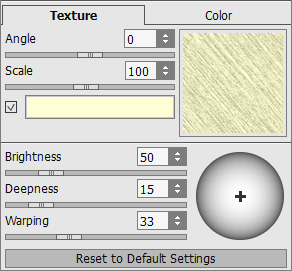
Repeat the Step 11.
- Step 18. You can add a frame to your picture. Increase the canvas size: call the command Image -> Canvas size in the menu of your photo editor and set the necessary value. The author added 40 px.
- Step 19. Select your frame using the Magic Wand
 tool and paint it red using the Paint Bucket
  tool.
tool.
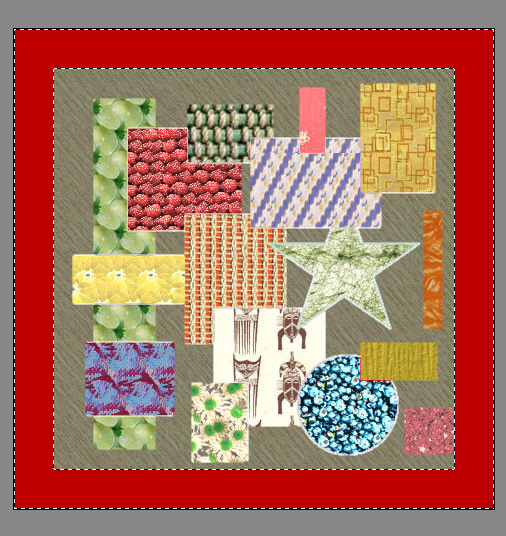
- Step 20. Call AKVIS Decorator. Switch to the Texture tab and choose a texture.
The author used the Paint texture with default settings:
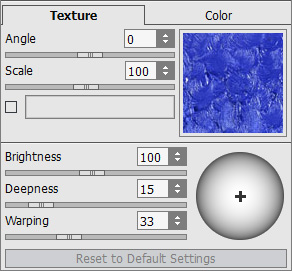
Repeat Step 11. Don't deselect.
- Step 21. Now let's make our frame more realistic.
Copy the selected frame to a new layer (Layers -> New -> Layer Via Copy). Change the style of the layer: Layers -> Layer Effects -> Emboss. Set the parameters as you wish.
- Step 22. Here you have a nice modern framed picture.

