Retro Style Portrait
あいにく, このページは英語にだけ使用可能です。
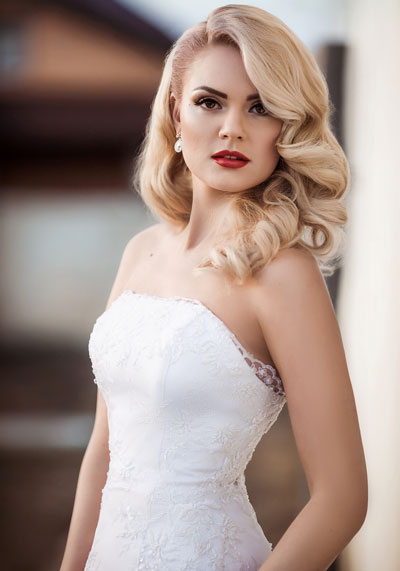
In this tutorial a professional studio photo is transformed into a beautiful retro style portrait.
This tutorial was done with AliveColors along with the AKVIS ArtSuite and AKVIS HDRFactory plugins.
 |
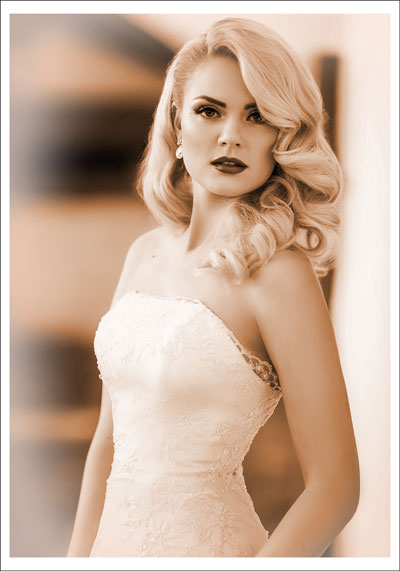 |
| Original Image | Result |
- Step 1. Open the image in the graphics editor.
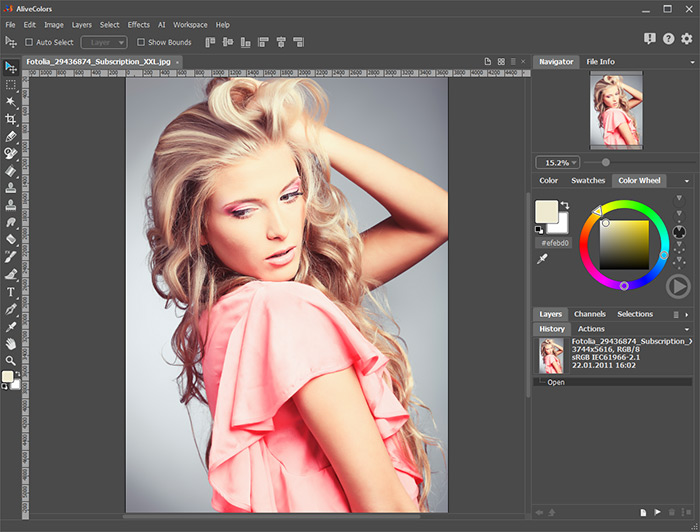
Graphic Editor's Workspace - Step 2. Call the AKVIS ArtSuite plugin (via Effects -> AKVIS -> ArtSuite). In the Settings Panel choose Effects from the left drop-down list, then go to the adjacent drop-down list and select Black and White.
Autorun is activated by default, so upon selecting the effect the photo will automatically be converted to a black and white image.
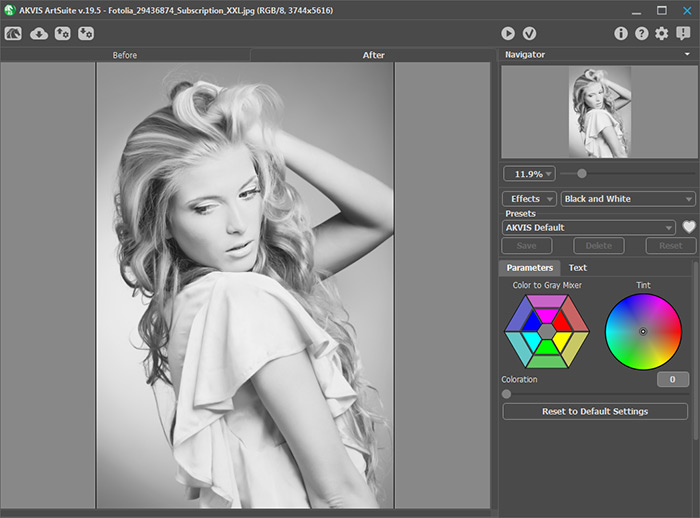
AKVIS ArtSuite Plugin's Workspace: Black and White Effect - Step 3. Adjust the effect's settings. Moving the brightness controls in each sector of the color hexagon will lighten or darken gray tones which correspond to the original colors of the image.
Slightly adjust Coloration to touch up the image a little and get the faded colors effect.
To imitate a sepia effect shift the center point of the Tint wheel as shown below.
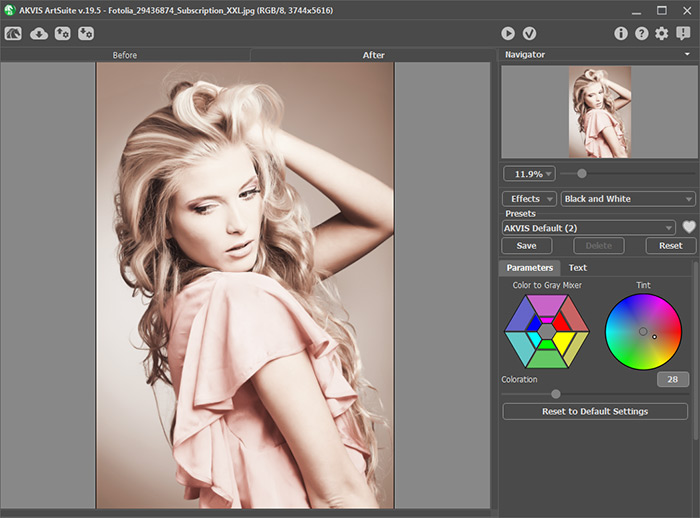
Adjusting Parameters of Black and White EffectClick on
 to apply the result and close the plugin.
- Step 4. Now it's time to add a vignette. Call the AKVIS HDRFactory plugin (via Effects -> AKVIS -> HDRFactory). Set all parameters under the Adjustment tab to zero. Adjust the parameters under the Effects tab as shown below.
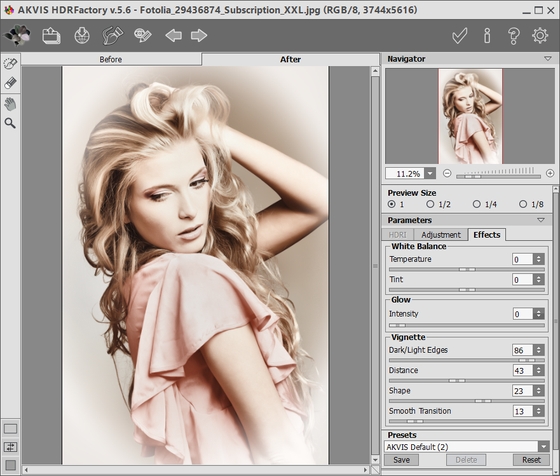
AKVIS HDRFactory Plugin's Workspace: Vignette FrameClick on
 to apply the result. The plugin's window will close.
- Step 5. Increase the canvas size in AliveColors (via Image -> Canvas Size) to add a simple white frame. The portrait is ready.
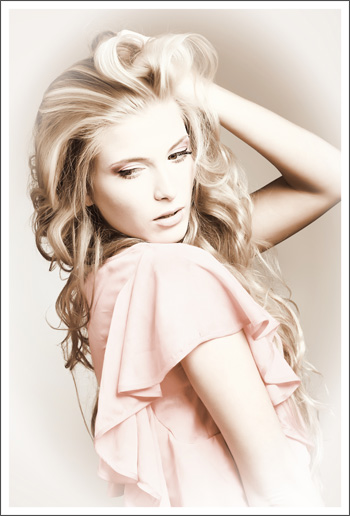
Retro Style Portrait
