Framed Black-and-White Sketch
La version française sera bientôt affichée.
The author of the example is Sanjeev Saha, New Delhi, INDIA
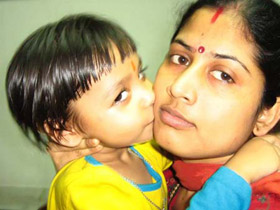
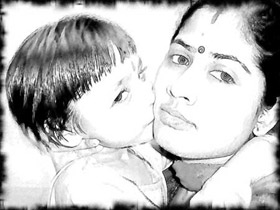
Here we have a family photo from India. The author shows us how to create an original black-and-white sketch using a photo editor and plugins AKVIS Sketch and AKVIS ArtSuite.

Source image

Result
The author used AliveColors, but you can work with any photo editor compatible with AKVIS plugins.
Or, if you do not have a photo editor, you can use Sketch and ArtSuite in their standalone editions.
-
Step 1. First choose a photo and open it in the photo editor.

-
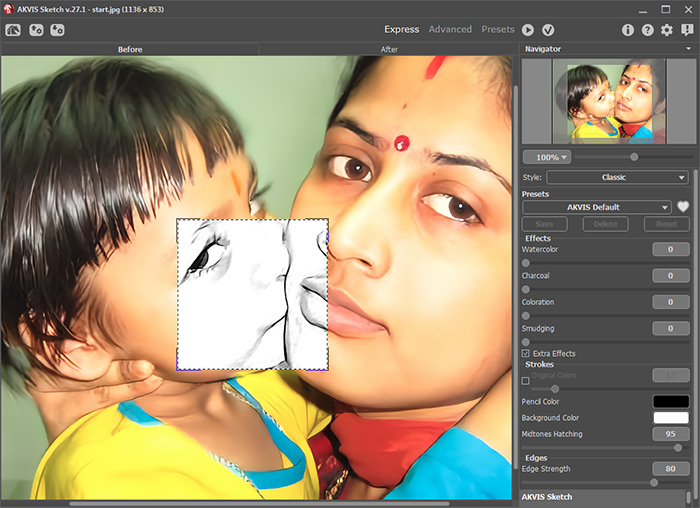
Step 2. Let's call AKVIS Sketch from the main menu of the photo editor Effects -> AKVIS -> Sketch. Run AKVIS Sketch with default settings.

-
Step 3. But to get a more natural sketch we should change the settings. Set the value of the parameters as shown below Watercolor = 1, Midtone Hatching = 87. Keep for the rest parameters their default values.
You can play with the parameters and get the effect you wish.
-
Step 4. Press the button
 to process the photo with AKVIS Sketch. Press the button
  to apply the result and close the plugin window.
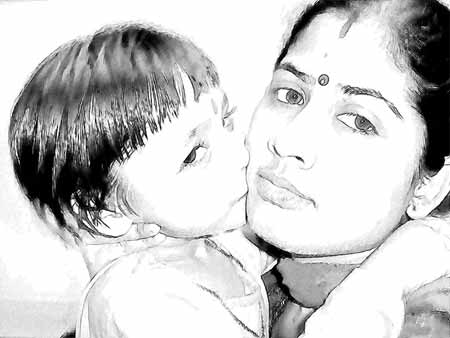
Here we have an amazing sketch.

-
Step 5. Let's use AKVIS ArtSuite to frame this image and give it the final touch.
Call ArtSuite from the main menu of the photo editor Effects -> AKVIS -> ArtSuite.
In the fall-out menu we choose Frame -> Spray, Frame Color will be Black, Frame Width = 21 px, Density = 99 and Random Seed of your choice. We set this value to 4980.
-
Step 6. Press the button
 to apply the photo frame to the image and close the plug-in.
Now our photo has an artistic look.

