Shiny Apple: An Artist's Touch
La version française sera bientôt affichée.
When creating a high-quality drawing, it is necessary not only to pay attention to lines and details, but also to how textures are represented. The Stroke Direction tool and other features of AKVIS Sketch can convey the structure of an object as if it were drawn by a real artist.
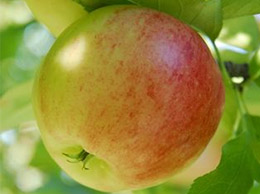
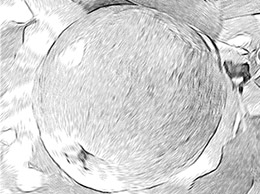
- Step 1. Open the image in the graphics editor with the menu command File -> Open.

Original Photo - Step 2. Call the plugin Filter -> AKVIS -> Sketch. In the preview window you can see how a part of the photo would be processed with the AKVIS Default preset. To process the entire image press the
 button.
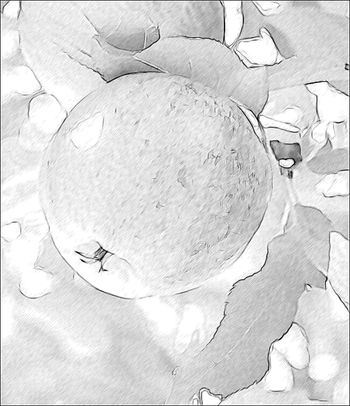
Result Using Default Settings - Step 3. Adjust the settings to make strokes clearer and more expressive:
Charcoal = 2;
Min Length/Max Length = 5/13;
Midtones Intensity = 6.Process the image again:
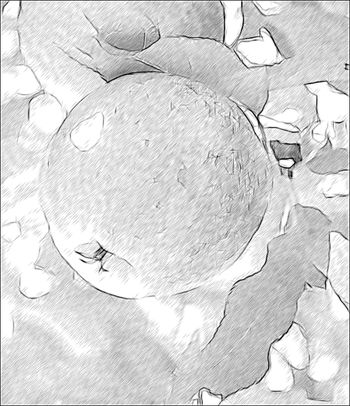
Result With New Stroke Settings - Step 4. The uniform strokes across the image do not look very realistic. To make the strokes follow the contours of the object, activate the
 tool and draw a few guiding lines. Change the parameter Zone of Influence to 76, so that more strokes will follow the guiding lines.

Guiding LinesPress the
 button. The result differs from the one received in Step 3:
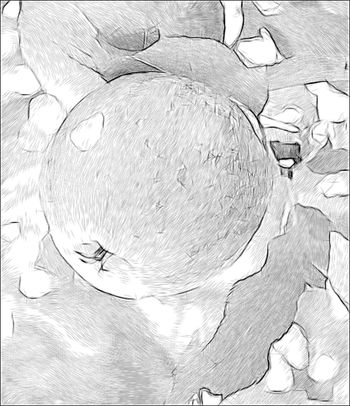
Changing the Direction of Strokes - Step 5. Note that small defects were formed over the smooth surface of the apple where there were spots.
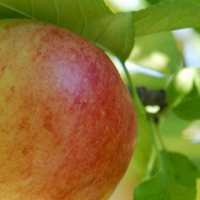
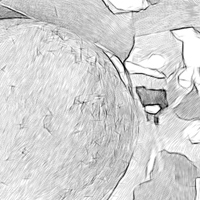
It's possible to make these defects less noticeable using the features of the program.
The first method: deactivate the Preserve Edges check-box. The strokes reorient themselves in a general direction, but now the image's borders are weaker.
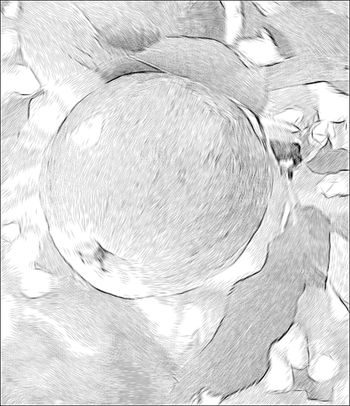
After "Preserve Edges" Was DeactivatedThe second method: use the blur tools. Usually these are used to create an effect, but here they can be used to correct a defect.
Switch to the Background tab and choose Sketch & Blur from the drop-down menu, the processing method Drawing on Blur, and the Gaussian blurring method.
Use the blue pencil (Effect Area Tool)
 to indicate the area that will not be blurred. Use the green pencil (Blur Area Tool)
  to mark the area with defects - they will be blurred before the photo is converted into a drawing.
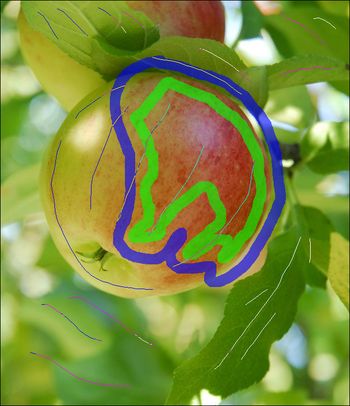
Area That Will Be BlurredStart processing by pressing the
 button.
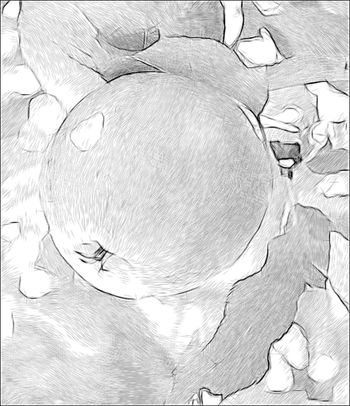
Blurring Was Used To Remove Defects - Step 6. Press the
 button, to apply the changes to the image. The plugin's window closes, and the processed image will appear in the graphics editor.
Finally, the image needs to be brighter. To do this, make a copy of the image by choosing Layer -> Duplicate Layer. Apply the Linear Burn blend mode to the top layer in the Layers palette, set the Opacity to 30% and choose the command Layer -> Flatten Image.
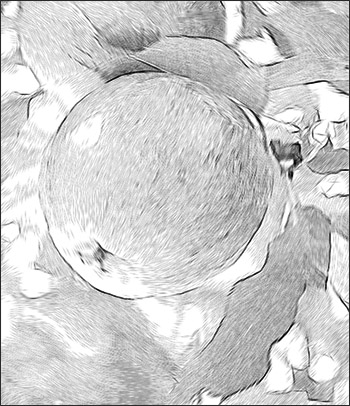
Result
