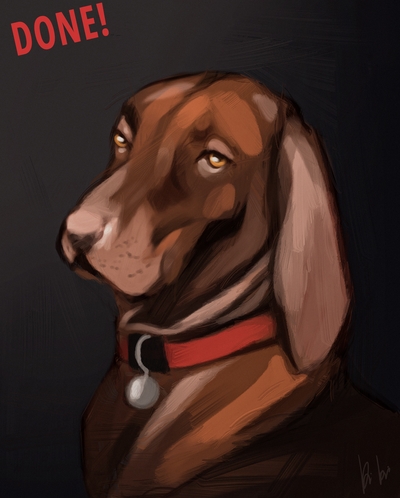
Digital Pet Portrait
あいにく, このページは英語にだけ使用可能です。
The author of the example is Krisztina Kozsik (@iskadraws).
This tutorial shows how to polish digital pet portraits with AKVIS OilPaint plugin. You will see how a digital drawing goes through all the stages from a rough sketch to a final oil portrait. Push your details further with AKVIS!
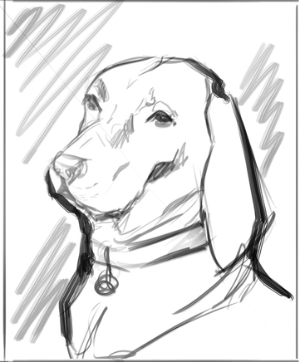
- Step 1. I always start with a rough sketch of the pet, usually looking at several photos if possible. Don’t worry about the details at this point, try to focus more on the shapes and the overall image.
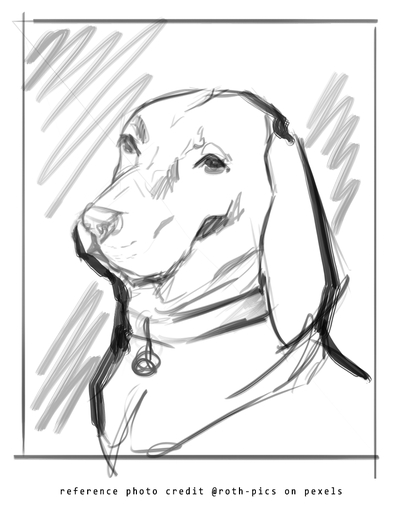
Rough Sketch - Step 2. After the lines are established I start eyeballing the colors and start to paint them under the sketch layer. At this step details still don’t matter that much. Try to see big spots of colors.
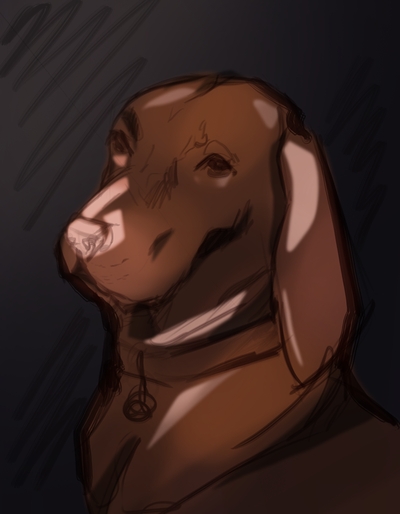
Colors - Step 3. After we have a fair point of basic colors, we can start painting in the details. I started to use a smaller brush and 50% opacity on it. I didn’t take too much time to detail this one, because I want to show how AKVIS will work on this piece to make it look more polished and painterly by itself.
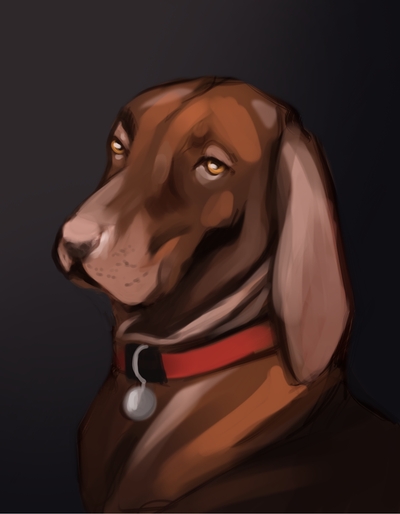
Details - Step 4. I use AKVIS as a photoshop plugin. Go to Filter → AKVIS → OilPaint.
Set your preferences. I usually start with a really soft setting, low saturation and I push it further if needed.
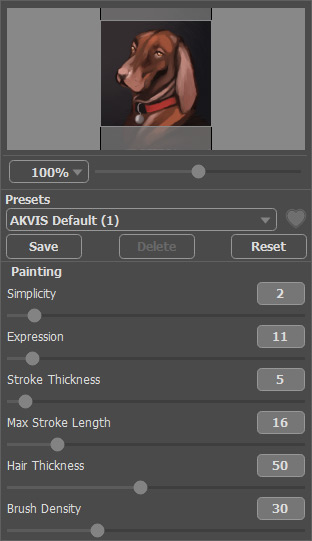
PreferencesRun the image processing by clicking on
 .
.
Save changes and go back to the photo editor with
 .
.
Done!
Sketch
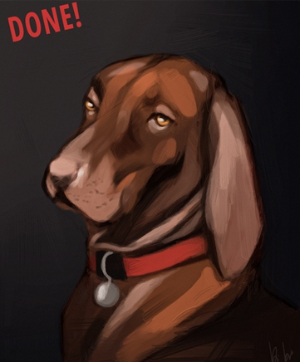
Oil Portrait
