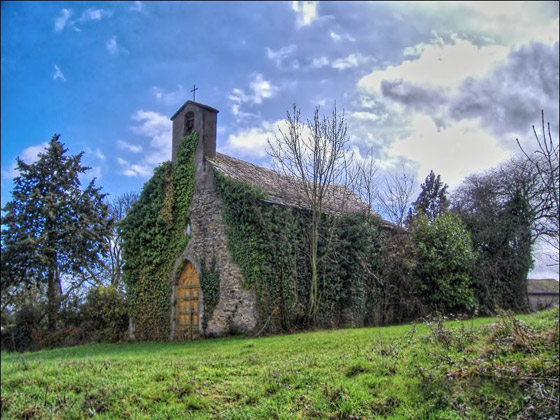
An Old Chapel in The South of France: Improve a Dark Photo + Remove Noise
Jean-Claude Grégoire shows how to improve a dark photo and remove the noise revealed by image correction.
Attention! The tutorial was made with the old version of the Noise Buster algorithm. Starting from version 12.0, the program uses trained neural networks to remove noise. You can see the work of Noise Buster AI here.
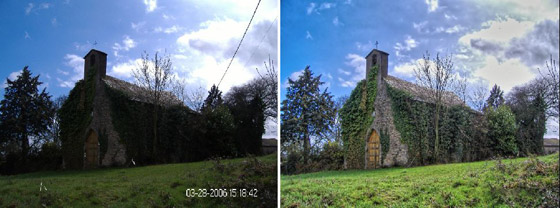
The photo below shows the difference between the original and the result.
Jean-Claude Grégoire writes:
For this tutorial, I used AliveColors and the AKVIS Retoucher, AKVIS Enhancer, and AKVIS Noise Buster plug-ins. I presuppose the reader already knows these three plug-ins well enough to be able to work with them effectively. So I won't go into detail about their use.
I'll demonstrate that, even in serious cases, this magic trio can help you to salvage very bad pictures.
Some days ago, I walked in the country, not far from the village where I live in the South of France, and took several photos of a nice old chapel. Unfortunately, the only good shot isn't properly centered and the only well-composed one is severely underexposed and has some other flaws, including an ugly date stamp.
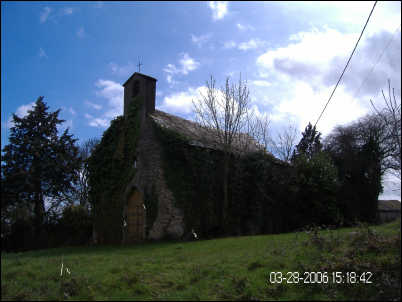
- Step 1. I decide to begin with the AKVIS Retoucher plug-in. Сall the AKVIS Retoucher plug-in: Effects -> AKVIS -> Retoucher.
- Step 2. First I have to select the bad areas. Use the Selection Brush
 to paint over the areas that should be removed or corrected (i.e. the electric wires in the right side of the sky, some white spots on the chapel and in the grass, and the date). Save this selection
  under an evocative name (here: "retoucher.retouch")...
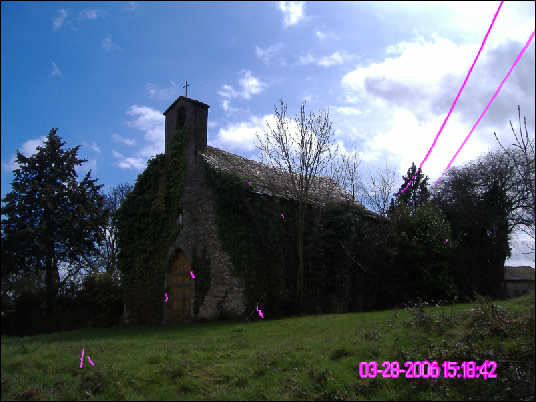
Press
 . This plug-in works automatically. As it works, I can see that the defects are disappearing, e.g. the date and the hour.
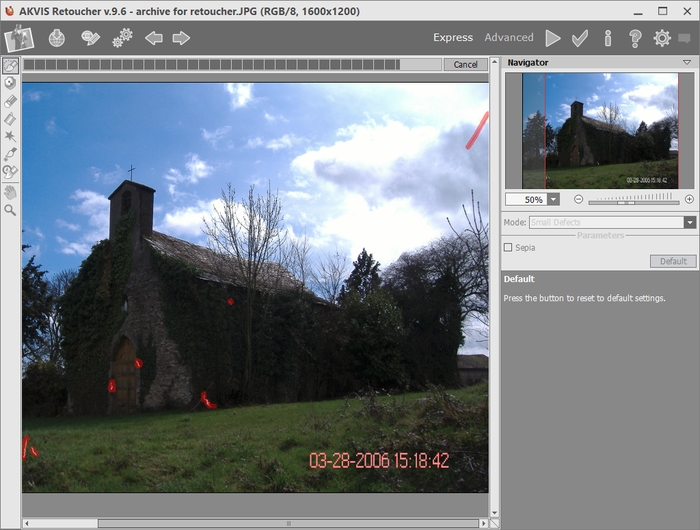
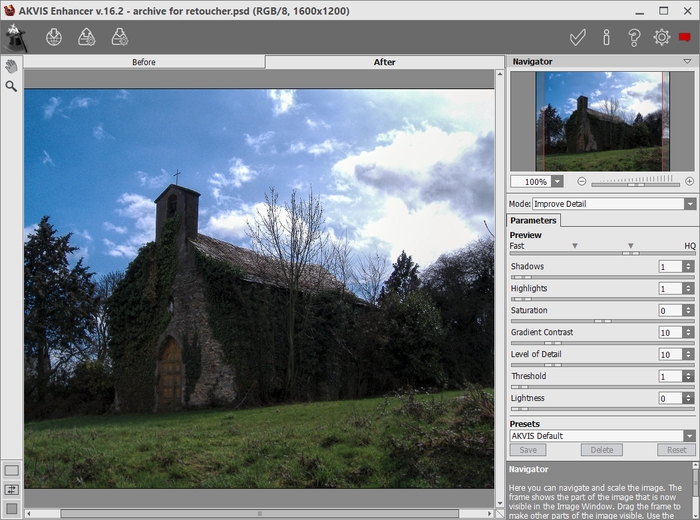
- Step 3. Now's the time to call the AKVIS Enhancer plug-in. Below is the result of the default settings, but I find that the image is still too dark and that it's worth going further.
So I choose other settings: the image is much brighter now.
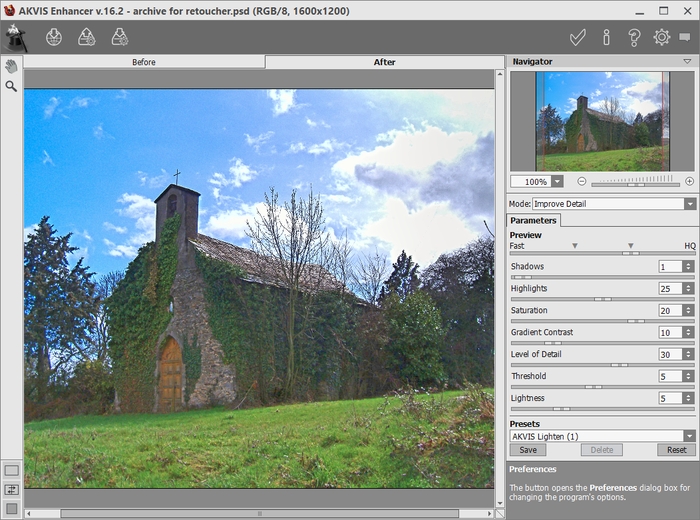
- Step 4. I apply the plug-in by clicking the button
 .
.
Now when zooming, I find there is a bit too much noise on the bell tower and far too much in the sky.
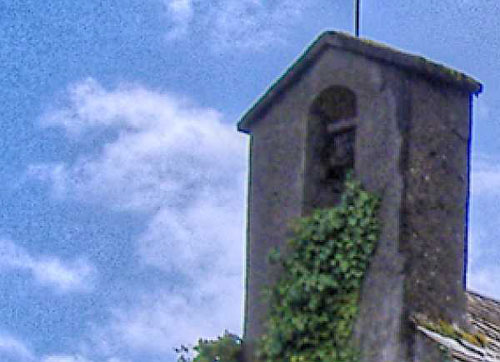
- Step 5. To get rid of this noise, I call the AKVIS Noise Buster plug-in. I find that the automatic filtering is good for the bell tower, but maybe it isn't effective enough for the sky and that it's too strong for the chapel door.
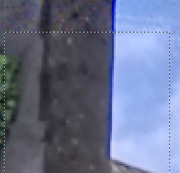
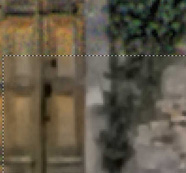
So I'll have to proceed by successive steps.
- Step 6. I begin with the good settings for the chapel door, which I apply to the whole image.
When I zoom on the corrected image, I see that the correction is good in general, but not for the bell tower and some regions of the sky. It's very easy and quick to select those regions, using a large Color Brush
 (100 pixels) on alpha-channel in Channels palette, with 100% opacity and flow at the beginning, so that the edges of the selection are feathered,
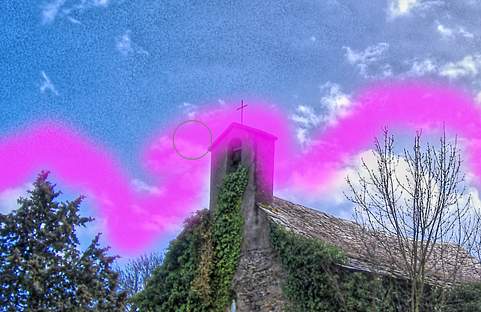
and then a Color Pencil
 for finishing the selection.
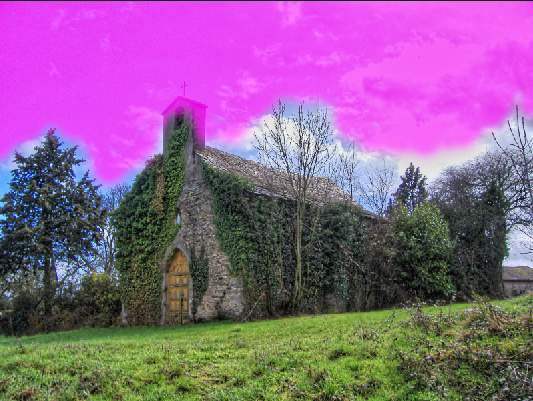
Choose Add Alpha Channel to Selection from the shortcut menu. Don't forget to invert the selection on Selections tab and to save this last one under an evocative name, e.g. "sky".
Then choose Clear Alpha Channel.
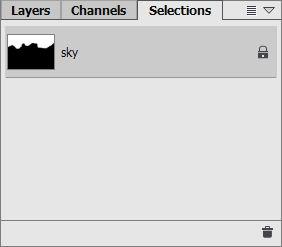
- Step 7. Then the safest way of working is to keep the selection of the sky active and to type Ctrl+J, for getting a copy of the sky alone on a new layer.
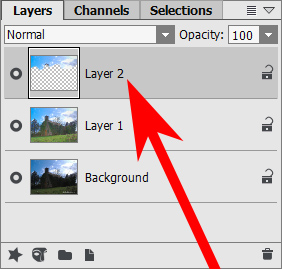
- Step 8. I activate this layer and call the AKVIS Noise Buster plug-in again. I choose the parameters you can see on fig. I apply the plugin.
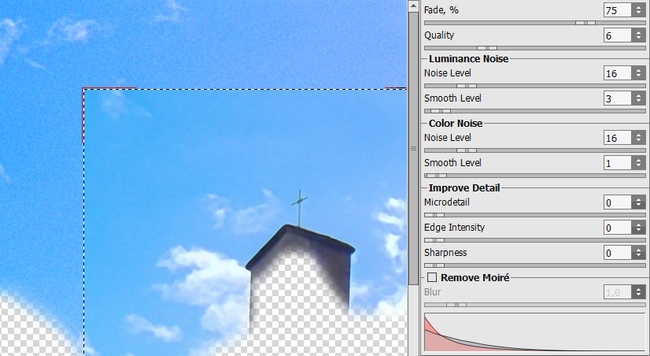
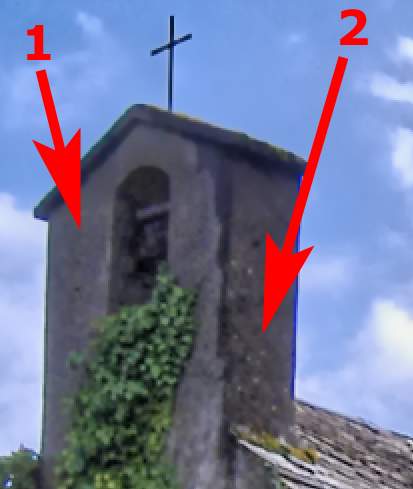
- Step 9. When zooming: a part of the tower is OK, another not corrected enough ("1" = good, "2" = not enough). The left part of the sky has to be more corrected but in general the right part is OK.
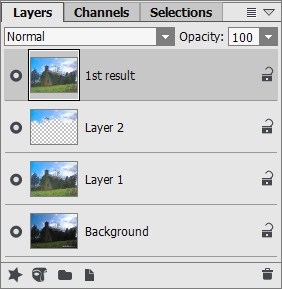
At this stage, I could have flattened the image typing Ctrl+A, Ctrl+Shift+C, Ctrl+V, what creates a flattened image on a new layer, which I could recall "1st result".
- Step 10. I nearly repeat the same operation as in step 6 for selecting the areas to be corrected again.
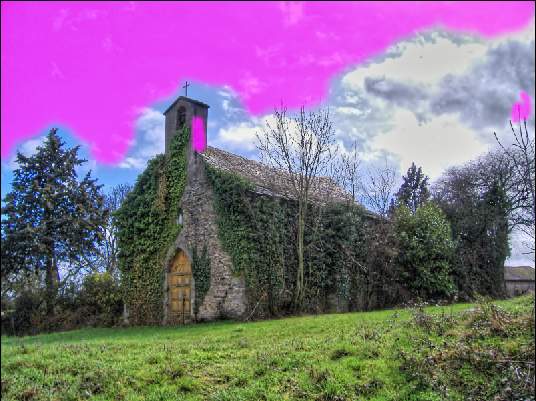
I save the selection under an evocative name ("sky 2"). I type Ctrl+J and I call the AKVIS Noise Buster plug-in again.
- Step 11. You can see the new settings and their action below.
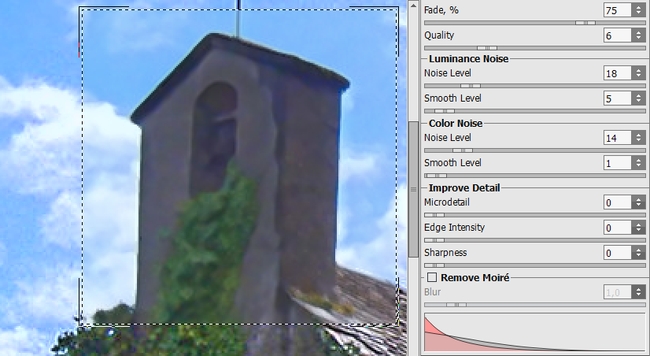
I apply the plug-in. The result seems nearly perfect.
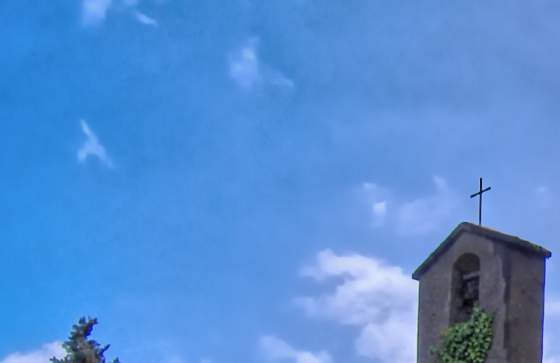
- Step 12. Nevertheless, when zooming on the entire image, I can see that there remain some traces of the AKVIS Retoucher plug-in.
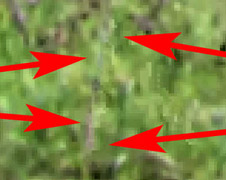
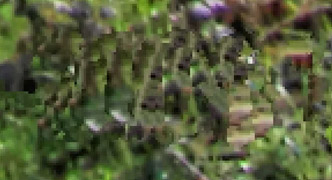
- Step 13. Now I can flatten the image. Then I activate Clone Stamp
 with the following parameters: Size 7, Mode Normal, Opacity 30%, Flow 100%; I check Aligned and I begin working on the last defects. (Don't load any selection!)
The corrections are excellent. Below you can see the difference in the area where the date was before and after the Clone Stamp.
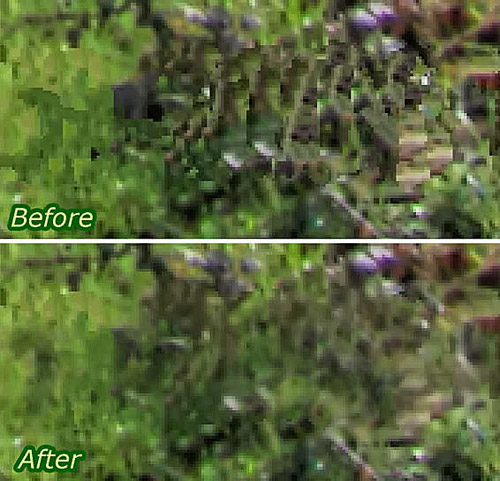
- Step 14. What a nice picture, thanks to AKVIS and its Three Musqueteers: these wonderful AKVIS Retoucher, AKVIS Enhancer and AKVIS Noise Buster plug-ins!
