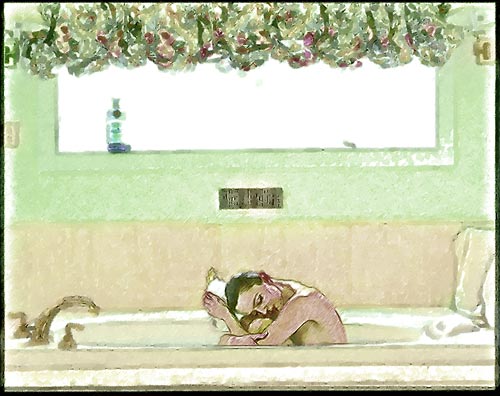
La femme dans la salle de bain
Désolé, à présent cette information n'est disponible qu'en anglais.
La version française sera bientôt affichée.
La version française sera bientôt affichée.
The author of this article Danny Raphael is the moderator of the Photo-based Art forum at www.RetouchPRO.com.
Danny is an expert in Photoshop and can make a photo into a real work of art.
-
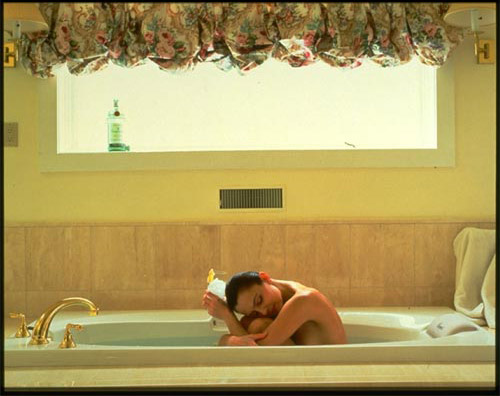
Step 1. Open the original photo of a woman in Adobe Photoshop.
-
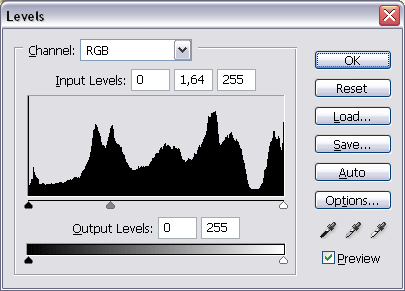
Step 2. Add a new Adjustment layer Levels and lighten the image by moving the grey slider from 1 to 1,64.
-
Step 3. While being in Levels Adjustment layer, in the Tools panel set black as the foreground color, choose the Brush tool with the soft head and transparency at about 70%. Stroke the bottle on the windowseal with the Brush. We perform the masking for the Adjustment layer to influence the whole image but the bottle (it becomes too light with Levels applied).
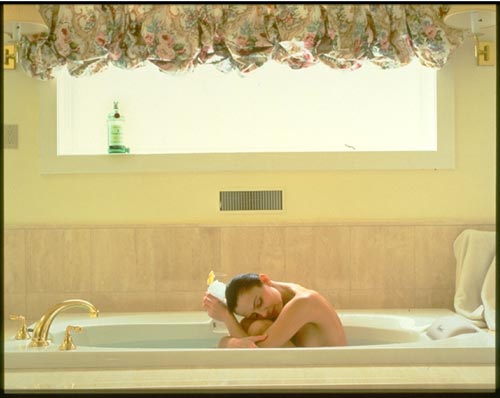
- Step 4. Still in Levels Adjustment layer, first choose Select - All, and then Copy Merged from the Edit menu.
- Step 5. Insert the copied image by Edit - Paste. Name our layer Layer A.
- Step 6. Duplicate Layer A by dragging it to the Create a New Layer button at the bottom of Layers palette. Name the new layer Layer B.
-
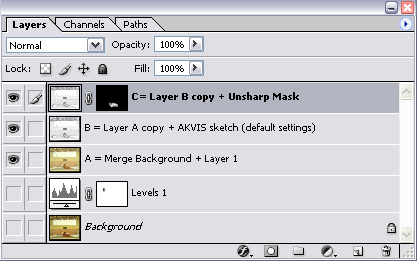
Step 7. In Layer B open AKVIS Sketch plugin and apply it with default settings.
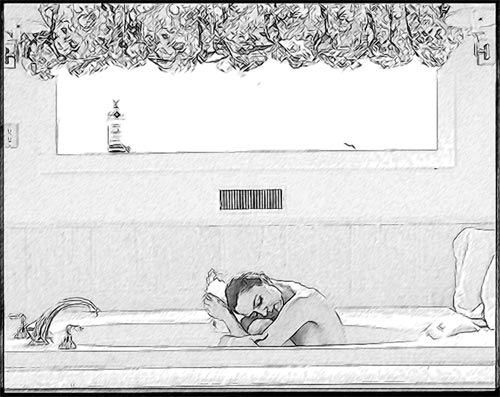
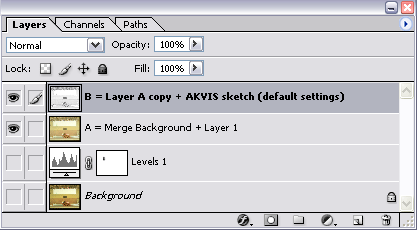
The Layers palette containes 4 layers at this stage.
-
Step 8. Duplicate Layer B and name it Layer C. In Layer C apply Unsharp Mask filter. But all we want to be sharper is the woman, so lets add a vector mask to the layer (Add vector mask button at the bottom of Layers) palette, and mask with the brush everything beside the woman in the image.
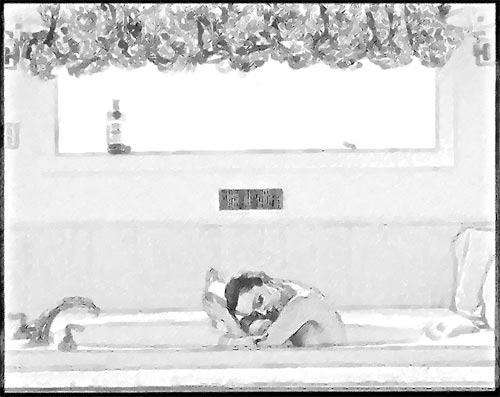
- Step 9. Merge Layer B and Layer C into a single Layer D. In Layer D apply Fantastic Machines Paint Engine plugin in Watercolour3 mode.
-
Step 10. Contrary to Step 8 we want to apply the plugin to the whole image except the woman. To do that add a vector mask to Layer D to mask the woman.
-
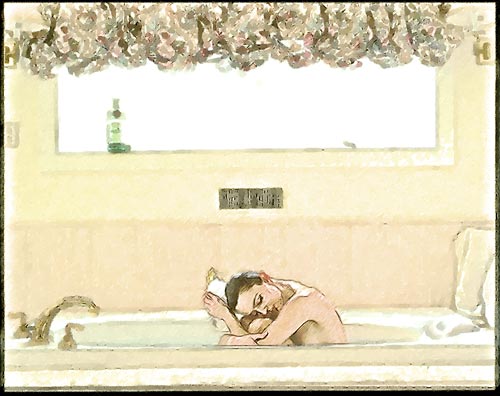
Step 11. To procede with our work we'll need a copy of Layer A. Place this layer at the top of the Layers palette. Change the layer's blend mode from Normal to Color.
-
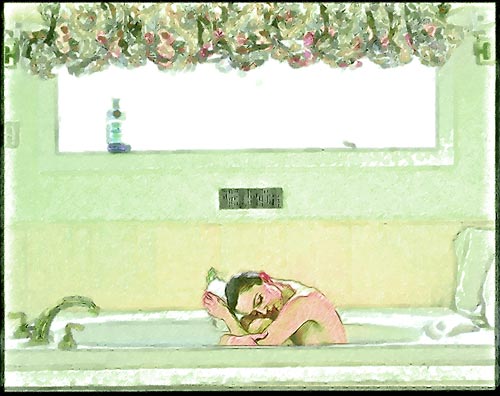
Step 12. Create a new Adjustment layer Hue/Saturation with Hue = -4, Saturation = 0, Lightness = 0.
-
Step 13. Lets use the masking again (as in Step 3) for the green hue not to cover all of the image.
-
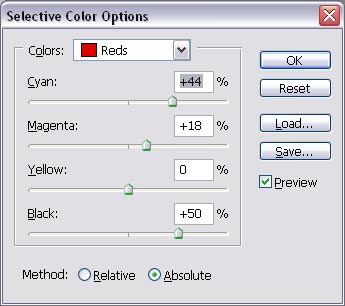
Step 14. In the final step add an Adjustment layer Selective Color with the following settings:
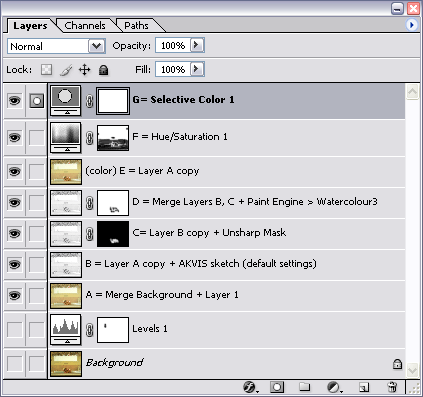
The layers palette looks like this now:
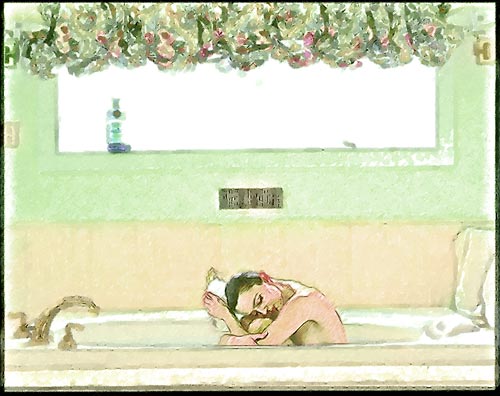
The resulted image has nothing in common with the photo. It's a beautiful drawing made by a real artist.
