Video Clip Processing
Désolé, à présent cette information n'est disponible qu'en anglais.
La version française sera bientôt affichée.
La version française sera bientôt affichée.
The author of this tutorial Helmut Küther.
 |
 |
-
Step 1. The source material is a short video clip filmed during a vacation in Canada. In order to process images in AKVIS Sketch the indivdual frames must be extracted from the video clip. It's possible to do this with Magix Video deluxe 15 premium. It's important that the frames do not change size during processing, since they could not be reassembled into a single video sequence.
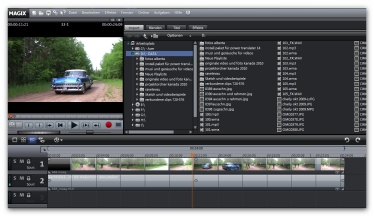
Magix Workspace -
Step 2. Choose an exported frame.
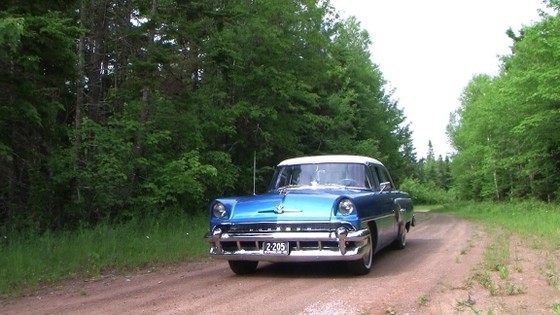
Exported Frame -
Step 3. Now I'd like to try something different: to make the oldsmobile part drawing, and part photograph. The areas to be left as a photograph and converted to a drawing should be marked with the red and blue pencils.
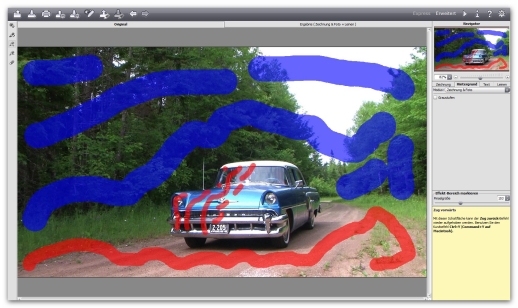
Color StrokesHere is the result:
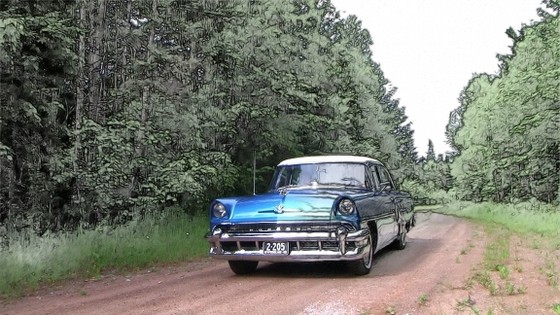
Combination of Photo and DrawingPay close attention to the car's lights and the road in the foreground. In my opinion, the smooth transition between photograph and drawing turned out well.
-
Step 4. The video episode should end with a drawing.
Therefore, process the final frame with Sketch before combining it with the other frames.
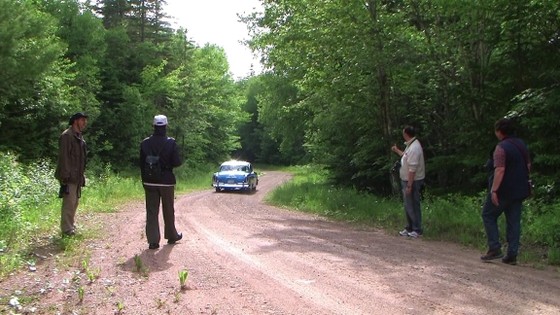
Last Exported Frame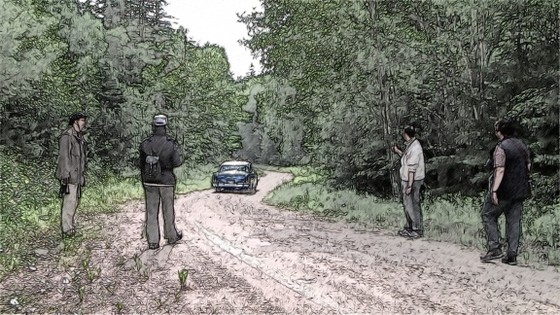
Drawing from a PhotographChange the drawing, so that the oldsmobile and two of the people are not processed into a drawing. In version 11.0 of Sketch, which I used, doing this was not a problem.
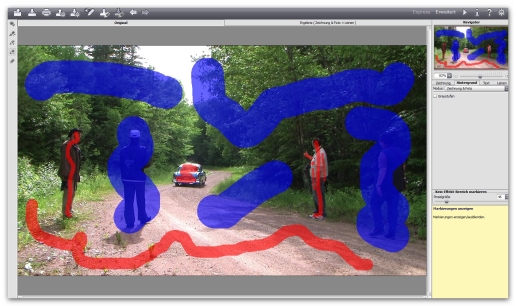
Color StrokesHere is the result:
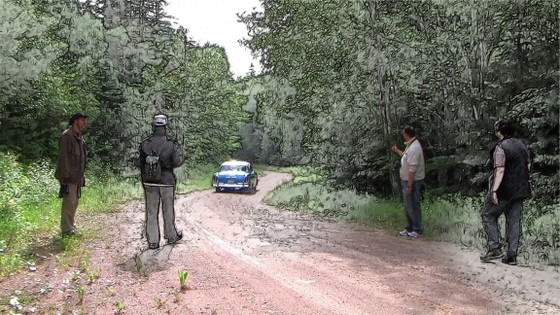
Combination of Photograph and Drawing -
Step 5. Save the file in the jpeg format and insert it at the end of the clip. It's ready!
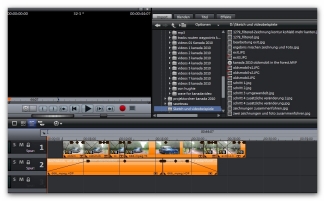
Assembling the FramesYou can download and watch the finished video clip.
Open the image in AKVIS Sketch and adjust the settings.
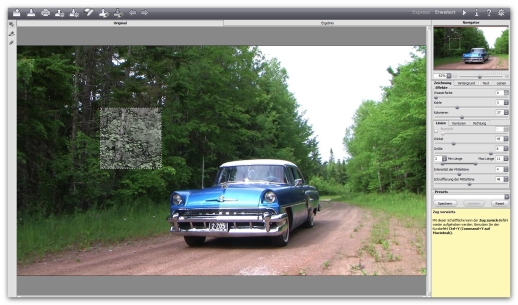
AKVIS Sketch Workspace
Once suitable settings have been found, press ![]() to convert the frame into a drawing:
to convert the frame into a drawing:
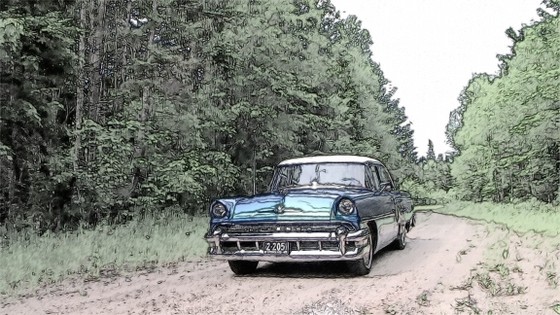
Video Frame, Converted into a Drawing
