Two Beloved Dogs
Désolé, à présent cette information n'est disponible qu'en anglais.
La version française sera bientôt affichée.
La version française sera bientôt affichée.
The author of this example is Brigitta Boonen (Germany).
With AKVIS Sketch we can transform a photograph into a color sketch.
-
Step 1. Open the photo in your graphics editor.

Original Photo -
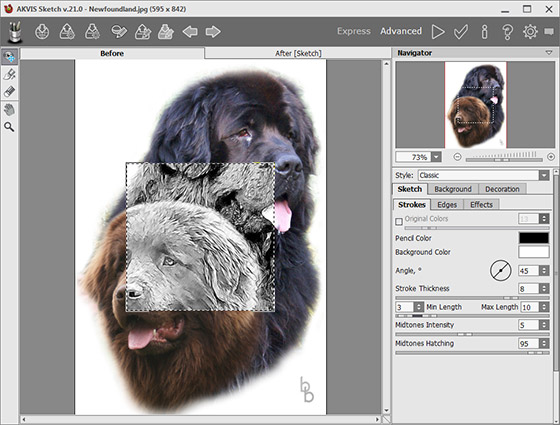
Step 2. Call the AKVIS Sketch plug-in by selecting Effects -> AKVIS -> Sketch. The plug-in's window opens, displaying the edited photo. The small square box will show the result of processing using the default settings.

AKVIS Sketch WorkspaceTo see the result for the entire image, press
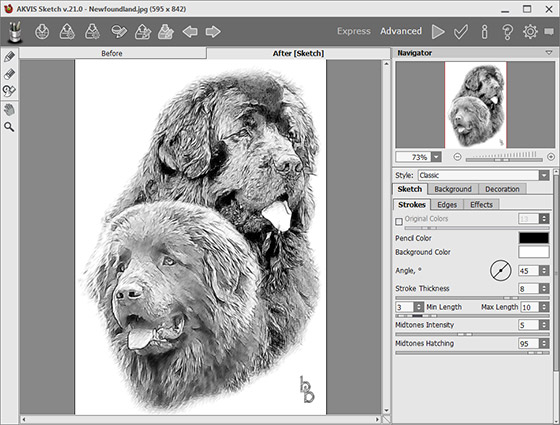
 . This will start image processing.

Black & White Sketch -
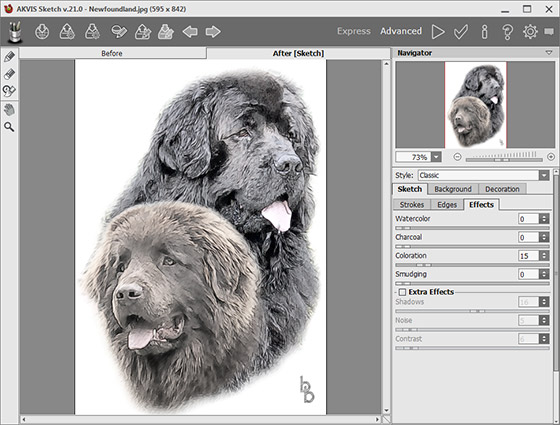
Step 3. To add color to the sketch, adjust the Coloration parameter. In this tutorial the value has been set to 15.

Colorized Sketch -
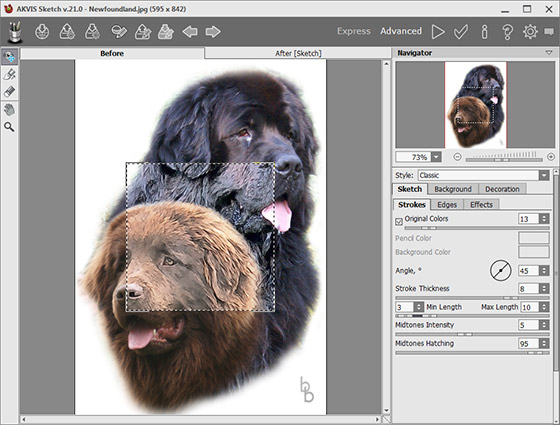
Step 4. The author decided to add the Original Colors effect (the effect's strength was the default value of 13). It's possible to change the appearance and angle of strokes, as well as Midtones Intensity and Midtones Hatching. The optimal settings for this image were the default values.

Color Sketch -
Step 5. If you are satisfied with the result, press
 to apply the effect and return to your graphics editor.

Result


