A Hand Draws a Hand
La version française sera bientôt affichée.
The author of this example is Adriano A. Mayer.
He comes from Brasil - Canoinhas - Santa Catarina. The tutorial was translated from Portuguese; however the screenshots stayed in the original language. Read the instruction attentively to understand what tools Adriano used to achieve the effect.
Adriano writes:
First you should create a new document (600*600 px) in your photo editor
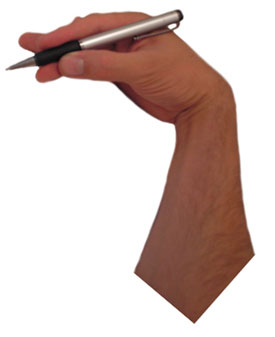
and paste an image of a hand.
I used an image of my own hand.
Call the plugin AKVIS Sketch from the menu of the photo editor. In Adobe Photoshop we call Filter - AKVIS - Sketch.
Then adjust the values of the parameters and press  . If you are satisfied with the result press
  and close the plugin.
This is the result.
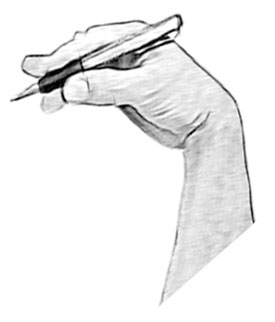
Now duplicate the layer and transform it as you need.
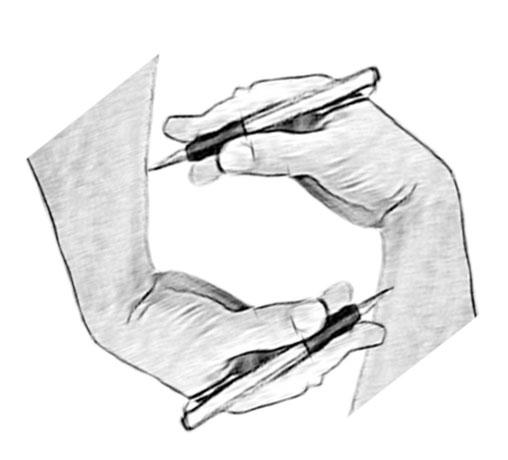
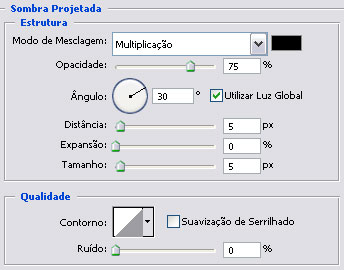
Select in menu of Photoshop Layer - Layer Style - Drop Shadow and set up the shadow at the cut area.
Then select Stroke in the list of the styles:
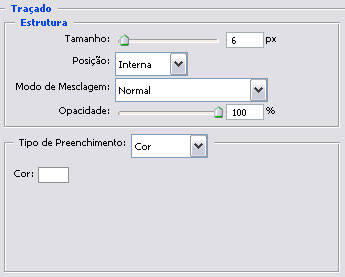
Now we have:
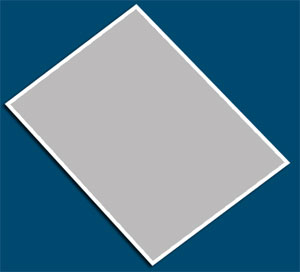
Choose the Burn tool ![]() for giving prominence on the layer.
for giving prominence on the layer.
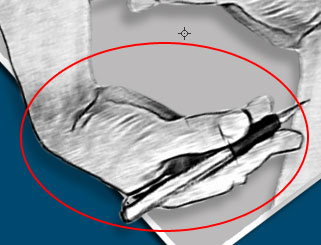
Again we duplicate 2 layers and set the direction of light.
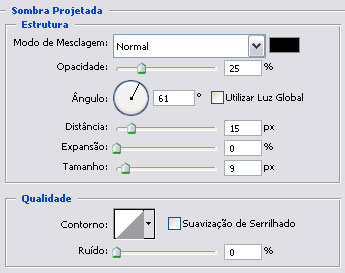
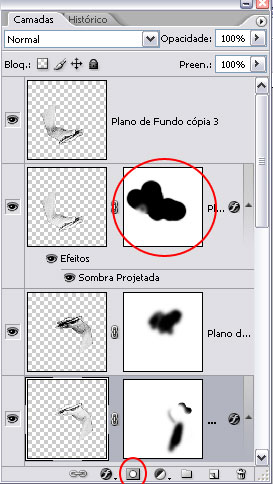
Add one mask on the layer duplicate and erase the part of the image with the black brush inside leaving the shadow only in the half.
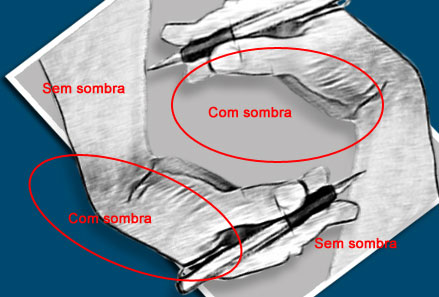
This is the final result.
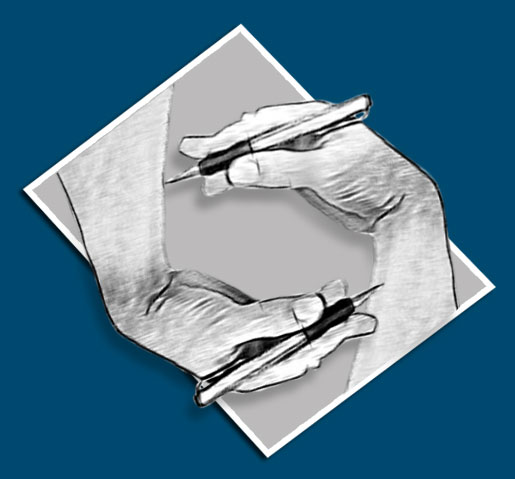
As you can see, AKVIS Sketch allows you to get this effect in minutes instead of working manually long hours.
