Cute Girl: A Pastel Drawing on Paper
La version française sera bientôt affichée.
You can repeat this tutorial yourself, using the author's materials. Download a .zip file containing the original image and Sketch presets (as a .sketch file). Here is a guide to using presets with AKVIS Sketch.
The author of this tutorial is Irene Briz (Lake Como, Italy). Irene used the AKVIS Sketch plugin in Adobe Photoshop.
Irene writes:
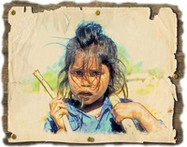
"During a trip to India, I took a lot of photos. The expressive faces of children made a great impression on me. Children's eyes are a mirror of the brutal reality that surrounds them. The image of this girl touched me. In distant, poor villages in India, there are almost no sweets, so for children there is only one accessible joy - sugar cane. This picture represents a moment in their lives!
I wanted to create a pastel drawing on paper with AKVIS Sketch, which can convert a photo into a drawing with just a few clicks of the mouse."
 |
 |
 |
| Original Images | Result | |
Follow these steps:
-
Step 1. Open the photo of the girl in a graphics editor. Irene used Photoshop.

Photo of the Girl -
Step 2. Call the AKVIS Sketch by choosing Filter -> AKVIS -> Sketch from the menu.
The plugin's workspace opens, displaying the image. The Preview Window will show the result if the image were to be processed with the default settings (AKVIS Default preset).
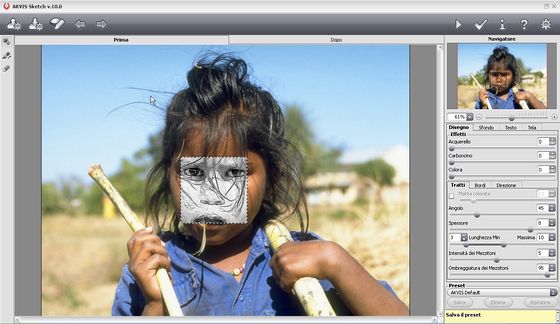
AKVIS Sketch Workspace -
Шаг 3. Press the
 button on the Control Panel to import Pastello 04.sketch from the downloaded archive.
Custom presets are very useful and allow you to use your favorite settings in the future.
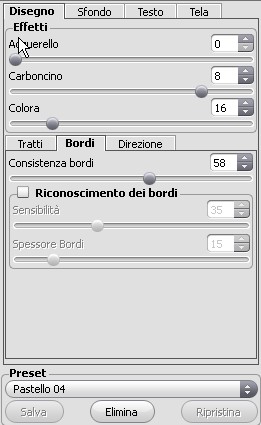
The Pastello 04.sketch preset uses the following parameters:
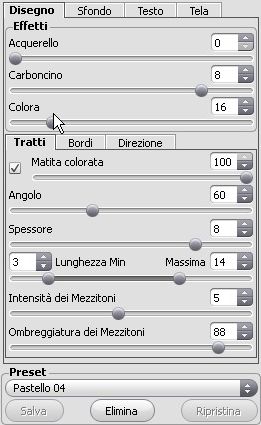
Press
 to begin processing the image and then
  to accept the result.
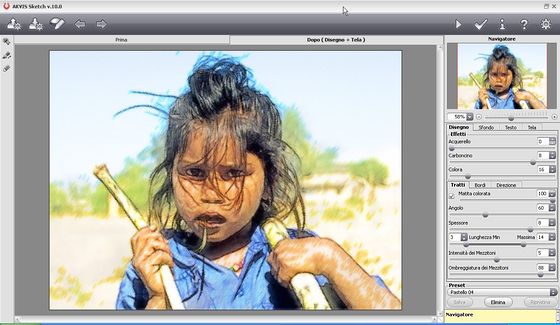
Photo Converted to a Drawing -
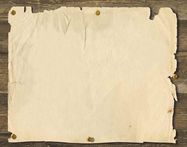
Step 4. Open the image you will use as a background in Photoshop.
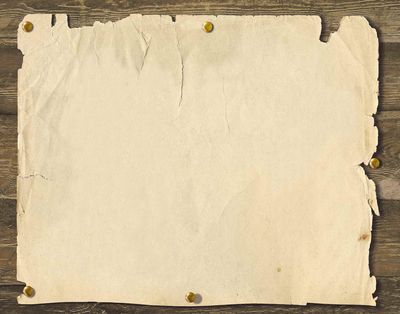
Paper, Pinned to a Board -
Step 5. Drag the portrait of the girl over the image of paper with the
Move
 tool. The portrail will automatically be added to Layer 1 above the background.
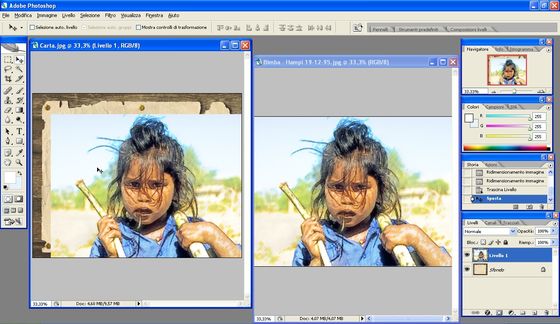
Placing the Drawing above the Background's Layer -
Step 6. Choose Free Transform from the menu (Edit -> Free Transform) and change the size of the drawing so that it will fit completely above the surface of the paper.
Usually combining two images will bring them to the same size, but in our case we need to reduce the size of the drawing.
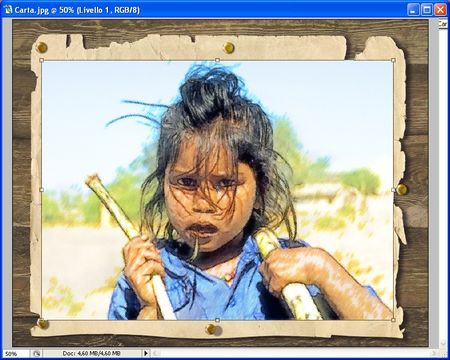
Changing the Drawing's Size -
Step 7. While on the drawing's layer, choose the Darken blend mode, which will keep dark areas while hiding lighter ones.
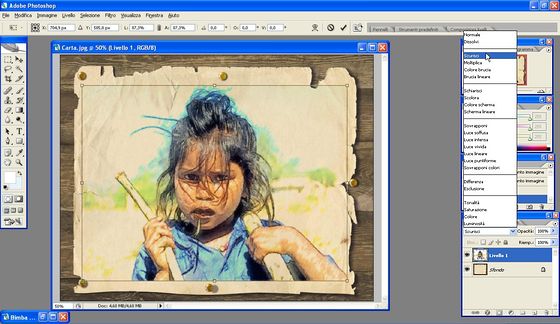
Applying Darken Blend Mode to the Drawing's Layer -
Step 8. Now we will to remove some parts of the image in order to create a more realistic drawing.
Choose the Eraser
 tool and use various shapes for the eraser, to avoid a repeating pattern around the edge.
 You can change the shape of the eraser in its settings. To make it easier to work with the eraser, turn off the visibility of the background's layer.
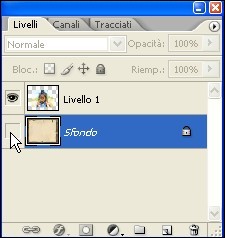
Turning Off the Background's Visibility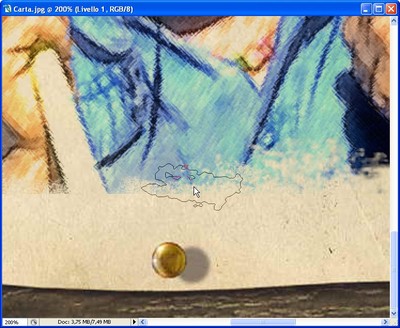
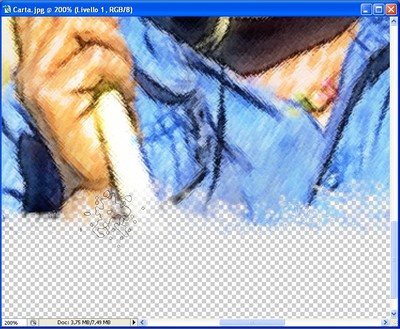
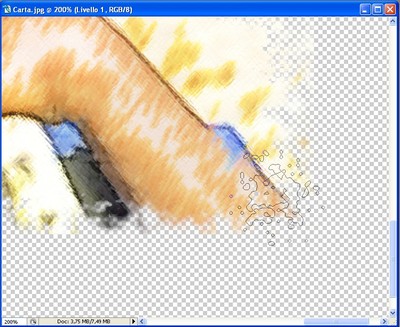
Various Shapes of the Erasser -
Step 9. Select the Dodge
 tool and use it delicately over the areas of the image containing the bright blue sky around the hair, to lighten it.
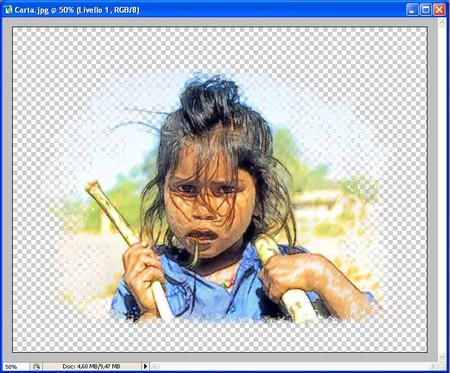
Drawing Separate from the BackgroundMerge the layers.
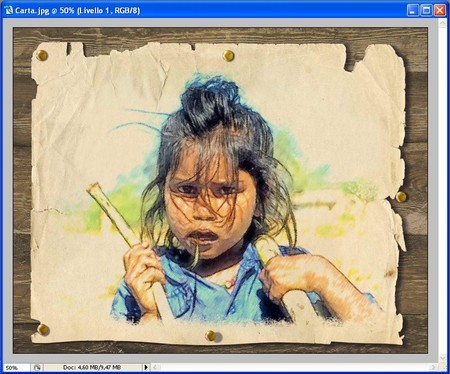
Drawing on Paper After Layers are MergedThe last step is to blur the edges of the board with the eraser and the image is complete.
The photo of the cute girl is now a pastel drawing on paper!

