Creative design in Paint Shop pro
La version française sera bientôt affichée.
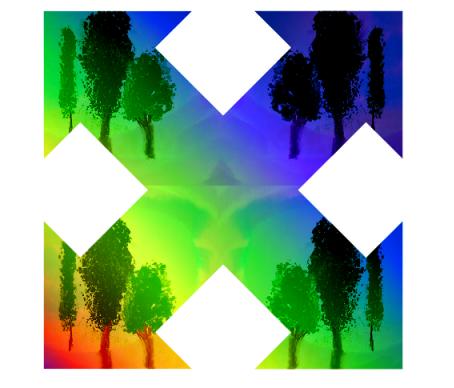
This example has been created by Michael Foutty in photo editor Paint Shop Pro 9 with help of AKVIS Chameleon plug-in.
In this tutorial we explore the use of AKVIS Chameleon and expand its applications through Alpha Masking and transparent png exports. The outlined technique opens a door of opportunity for new and exciting uses of AKVIS Chameleon from within any software that imports transparent pngs.
To begin:
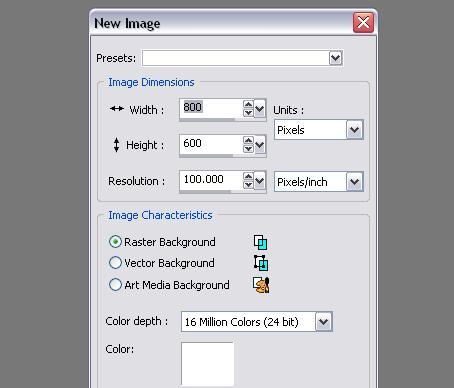
Open Paint Shop Pro 9 and create a New Image [800x600].
Activate the ruler: View -> Rulers Ctrl+Alt+R.
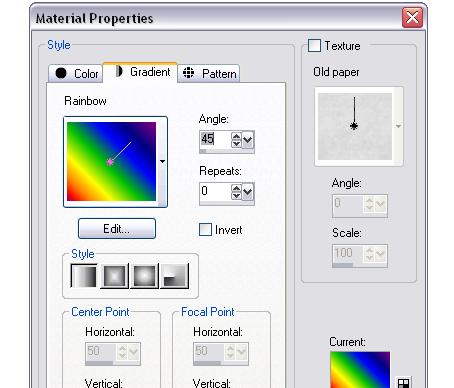
Access the Material Properties dialog box by double-clicking on the Background color in the Material palette.
Activate the Gradient tab and select the 'Rainbow' linear gradient fill from the fall-out menu.
Set angle to 45.
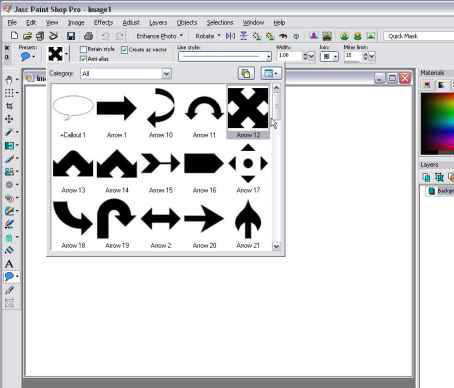
Click on the Preset Shapes tool.
Access the Shapes List.
Select Arrow 12.
Using the ruler as a guide drag out the shape [ 450x450 pixels].
Next, go to Objects -> Align -> Center in Canvas and click to center the shape.

Now that the basic preparation has been done, let's move on and make an Alpha Channel that will be used in the final stages of the tutorial.
This is accomplished by:
- Selecting the Magic Wand Tool .
- Clicking on the white area of the background .
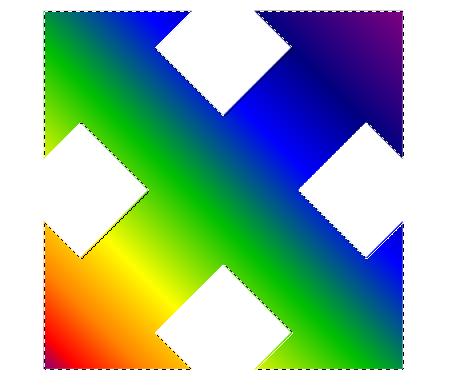
Go to:
Selections -> Load/Save Selection -> Save Selection to Alpha Channel and click Save.
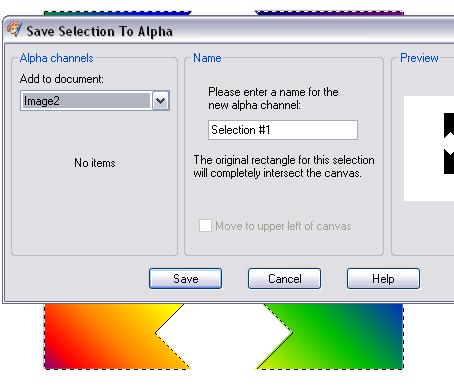
With the selection now saved to Alpha, go back to Selections heading and Select None [Ctrl+D].
Now the fun begins.
While we only have a standard arrow, it can be used to make something innovative and unusual. In this case we will add an image to the arrows.
Open the “Trees” image that you have downloaded for use with this tutorial.
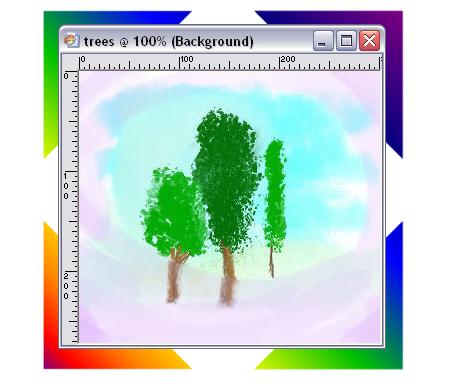
Our goal now is to duplicate the “Trees” and place them in all four quadrants of our design.
Copy the image to the clipboard: Edit -> Copy [Ctrl+C].
You can now minimize or close the 'Trees” file.
Create a new image, using the command File -> New and set its size to 2 times that of the image of the trees.
Choose the command Edit -> Paste as New Selection or press [Ctrl+E]. The image of the trees will be pasted in the new image. Move the selection to the upper left corner, as shown in the figure below.
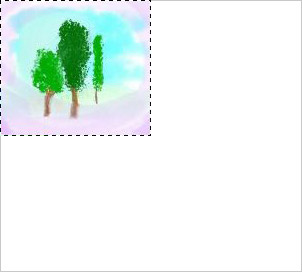
Before we paste again let's reverse the “Trees” image. Since it is still selected this can easily be done by clicking Image -> Mirror [Ctrl+M].
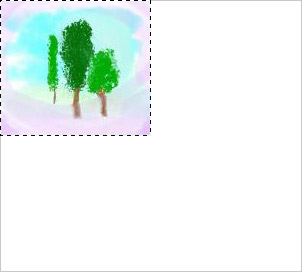
Insert another image (Edit -> Paste as New Selection) and move it to the upper right corner.
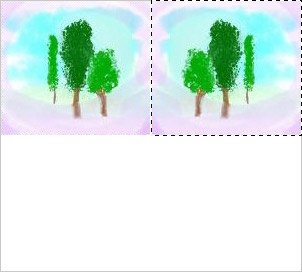
Insert the image of the trees twice more, in the lower left and right corners, respectively. Do not forget to align them correctly along the vertical axis before inserting them.
Now we need to join all four images together as one selection. To do this activate the Magic Wand Tool left click on the white background around the trees, and then invert the selection (Selections -> Invert [Ctrl+Shift+I]).
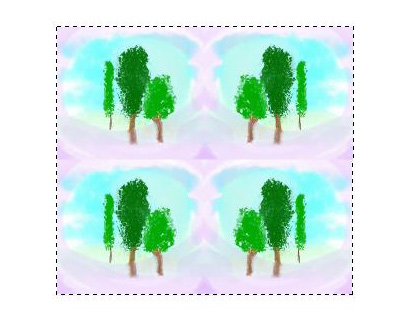
Copy the selection to the clipboard with the command Effects -> Plugins -> AKVIS -> Chameleon - Grab Fragment.
Switch to the image of the arrow and call the AKVIS Chameleon plug-in with the command Effects -> Plugins -> AKVIS -> Chameleon - Make Collage
Choose Blend mode in the plug-in.
Use the Transform ![]() to change the size of the image, so that it fully encloses the arrow. To make inserting the fragment easier, choose any value less than 100% for the Opacity parameter.
to change the size of the image, so that it fully encloses the arrow. To make inserting the fragment easier, choose any value less than 100% for the Opacity parameter.
Start processing the image by pressing ![]() . The result will be displayed in the After tab.
. The result will be displayed in the After tab.
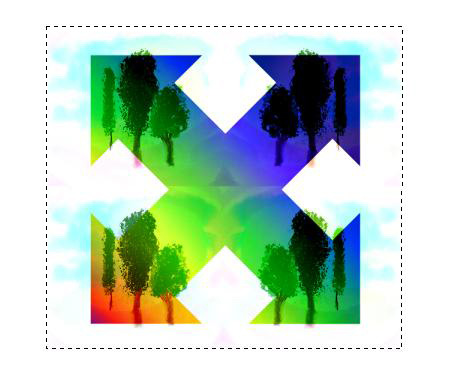
Press ![]() to accept the result and close the plug-in.
to accept the result and close the plug-in.
Remember in the beginning of the tutorial we saved the original shape to the alpha channel? Well, it's time to put it to use.
First de-select the selections [Ctrl+D].
Next go to Selections -> Load/Save Selection -> Load Selection from Alpha to open the alpha dialog.
You will see the original shape. Now load it.
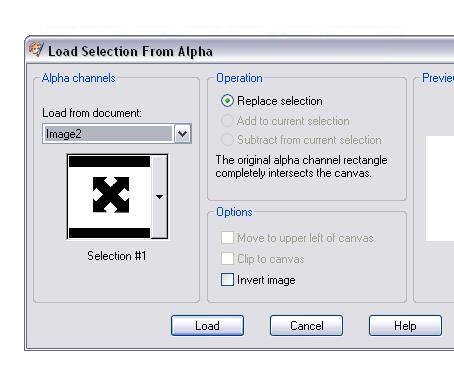
Notice the marquee [marching ants] surrounding the shape? The represent the image areas that will become transparent after the next two steps:
- Go to the Promote Background Layer.
- To complete the process just hit the Delete key.
The results: The shape now has a sharp outline with a transparent background. Just what we were after!
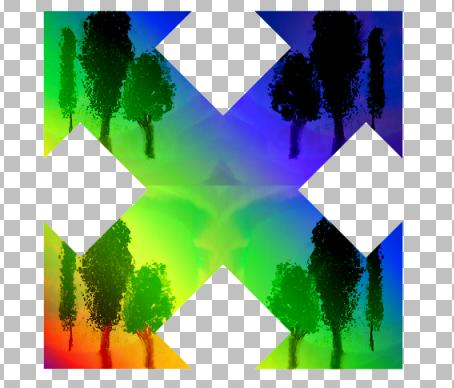
To make our design available for future use within this [PSP9] and other programs let's save it as an transparent png.
Clear the selections [Ctrl+D] and use the Crop Tool to include just the shape.
Go to File -> Export -> PNG Optimizer and Save the image. Be certain to set the export for alpha channel transparency.
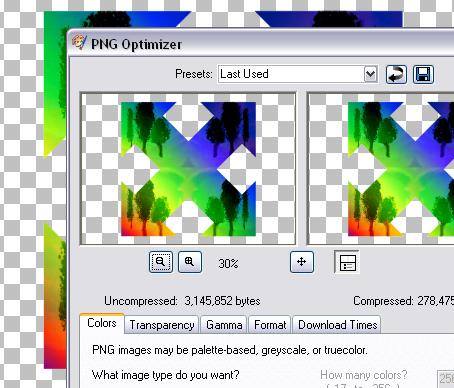
Transparent 'png' files afford us the luxury of using the designs is a multitude of ways and in a wide range of applications. They can be imported into NLE's [video editing software] and used as scalable video overlays or into vector/bitmap graphics programs to be utilized as design components.

Hopefully this tutorial will challenge you to explore the possibilities for yourself and demonstrates some of the advanced techniques and applications of the AKVIS Chameleon plug-in.
