Greeting Card: Decorate a Christmas Tree
La version française sera bientôt affichée.
The author of this tutorial is Irene Briz of Lake Como, Italy.
During the Christmas holidays, there's nothing better than receiving a personalized greeting card or congratulating someone with a Merry Christmas and Happy New Year. It is wonderful to make something with your own hands, with passion and love... for the sake of art and for whom it is intended.
With AKVIS NatureArt we can make and decorate a beautiful Christmas tree!
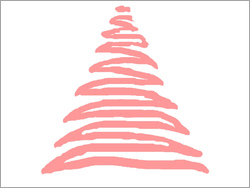
Original Image

Result
The standalone version of the program was used for this tutorial, but the same result can be obtained using the plug-in.
Hint: It's useful to save your settings to a preset so that they can be easily used again later.
- Step 1. Start AKVIS NatureArt and create a file with a white background (the button
 ).
).

White Background - Step 2. Choose Clouds from the list of effects. Use the Selection Brush tool
 to draw a tree using arbitrary lines (it can be simple). Make corrections using the Eraser tool
  if necessary.
Adjust the parameters and color to create a Christmas tree that is both beautiful and recognizable.
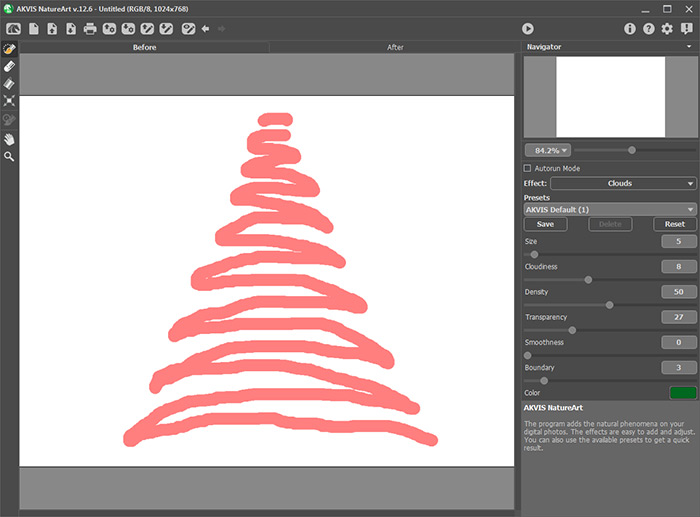
Selected Area - Step 3. Press
 to begin processing the image. Save the result and continue working on the image.
Now we have a tree which is ready to be decorated.
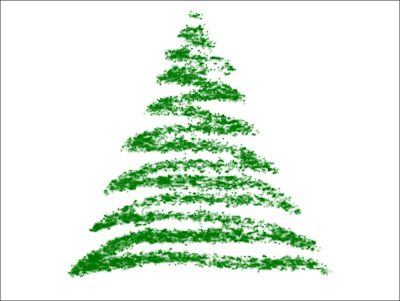
Christmas Tree - Step 4. Choose the Sun effect and the AKVIS Star and add a star to the top of the tree, then adjust the effect's parameters and color.
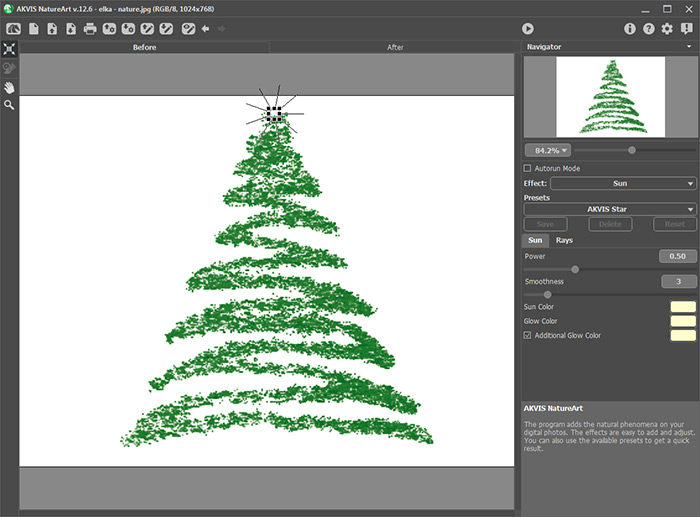
Sun Effect (AKVIS Star Preset)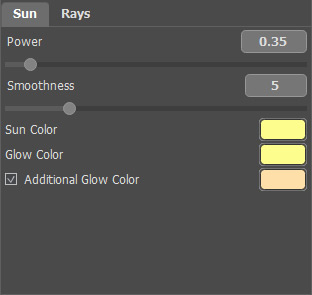
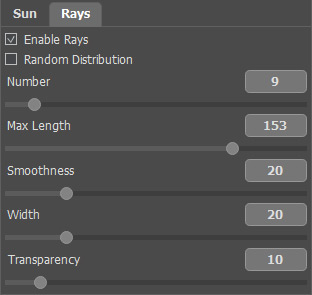
Settings - Step 5. Press
 to process the image. Save the image again and continue working on it.
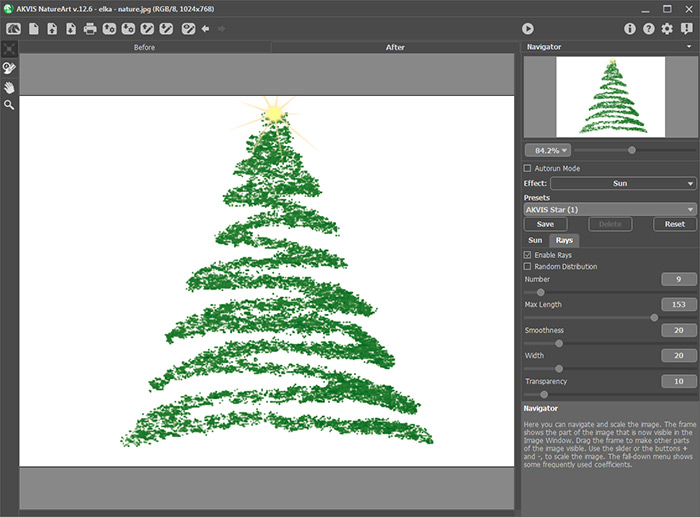
Result (sun in the form of a star)Repeat steps 4 and 5 to add a few more stars on different parts of the tree. If desired, you can change the color, size, and the number of rays for each object:
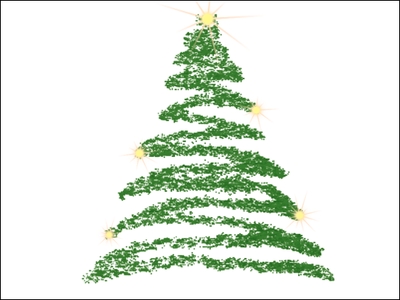
Christmas Tree, Decorated in Stars - Step 6. To add some colorful Christmas tree balls, choose the AKVIS Moon preset.
Set the parameters and color of the ball:
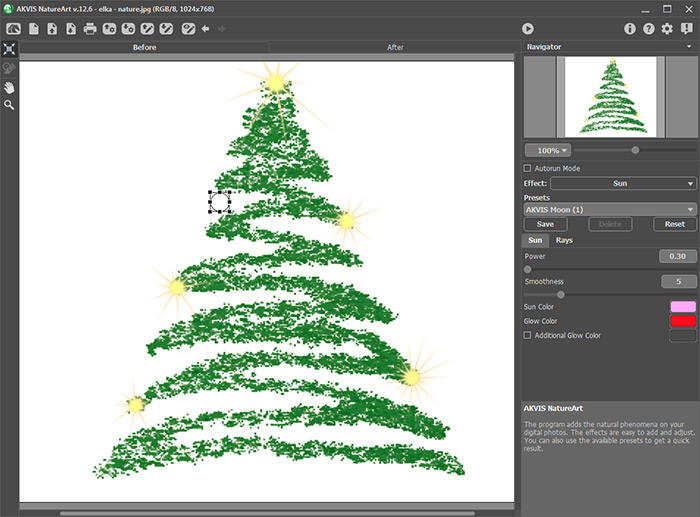
Sun Effect (AKVIS Moon Preset) - Step 7. Press
 to process the image and then save the result.
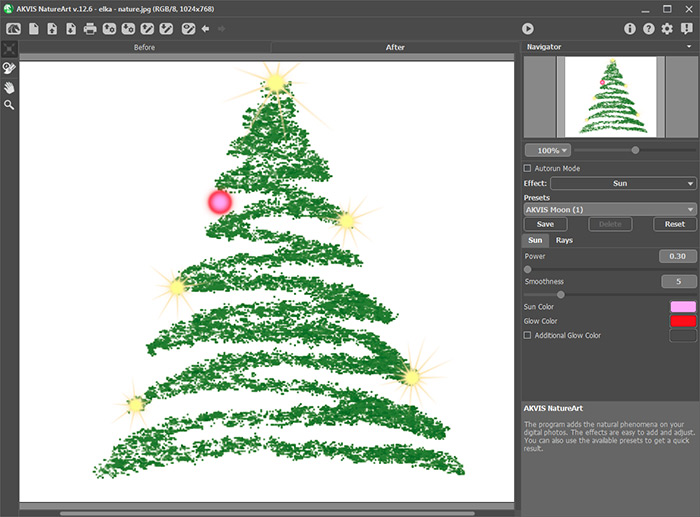
Result (sun in the form of balls)Repeat steps 6 and 7 to add more balls of various color and form to the tree. Here is the image thus far:
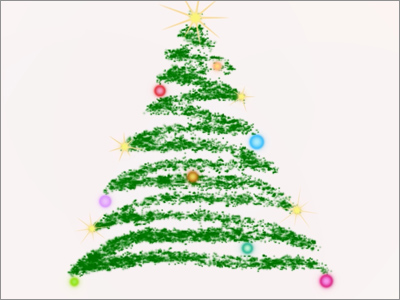
Christmas Tree, Decorated in Stars and Balls - Step 8. Save the final version, close AKVIS NatureArt and open the image in Adobe Photoshop. Now you can add some congratulation text and create an appropriate inscription.
If the image is printed on glossy transparent or matte gloss paper, it will look simply fantastic!

Christmas Card
