Cleaning scanned photos
The example was made in the old version of AKVIS Stamp.
Starting from version 4.0 the program is called AKVIS MultiBrush.
The tool used in this tutorial is now called the Chameleon Brush tool.
The example was created by Victor Lushnikov.
Even today classical black and white photos do not lose their novelty. Modern techniques of digital processing offer more opportunities to photographers. Unfortunately, Digital ICE technology that allows removing scratches, dust, finger-prints when scanning negatives, slides, and photos can not be applied to old black and white films. These films contain salts of silver that account for the inefficiency of Digital ICE.
Thus, in the case of silver-containing films we must manually remove dust, finger-prints, hair and scratches. You can apply AKVIS Stamp to achive a faultless result with scanned black and white films.
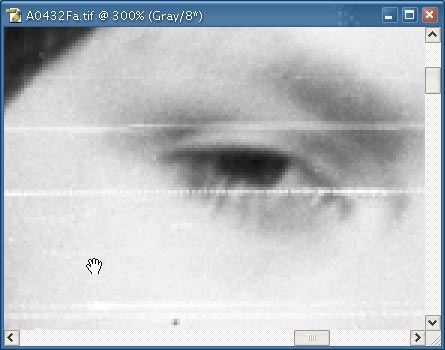
Below you can see such a photo, but the images's scale hides the defects.

The photo is actually covered with numerous scratches. AKVIS Stamp enables the concealment of scratches by cloning intact parts of the image into the damaged ones. Unlike other cloning tools, AKVIS Stamps blends the patches with the background.
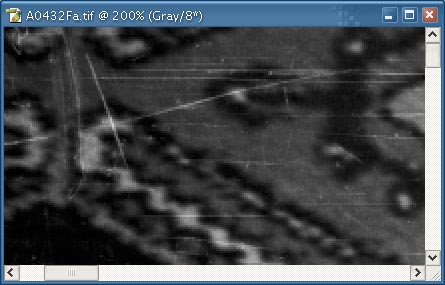
Below is a fragment of the black and white photo before and after cleaning with AKVIS Stamp.
|
| Scratches on the original photo |
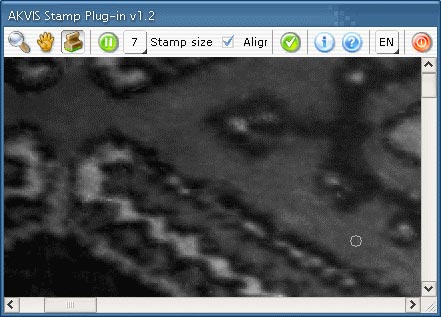
|
| The same fragment after the usage of AKVIS Stamp |
To process a scanned photo with AKVIS Stamp follow these instructions:
- Step 1. Open the black and white image in your photo editor.
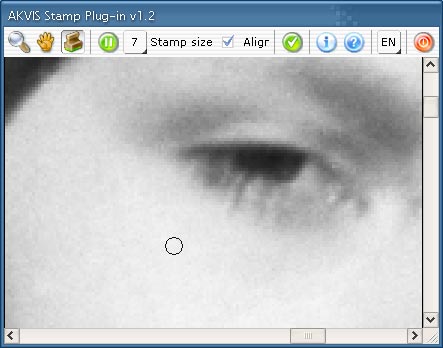
- Step 2. Call the plug-in AKVIS Stamp.
- Step 3. Scale the image in such a way that the scratches become visible and you could easily select them.
- Step 4. Select the Stamp tool from the Toolbar and adjust its size.
- Step 5. Press the ALT-key and define the source area for cloning with a mouse click.
- Step 6. Paint over the scratches using the Stamp tool taking into account the position of the cloned area.
- Step 7. Repeat steps 5 and 6 until all the scratches are painted over.
- Step 8. Press the button
 in the Toolbar to apply the result of the photo retouching.