Paint your house
Neste momento esta página está disponível somente em Inglês. A versão em Português estará disponível em breve.
You can colorize this photo yourself using the half-finished materials that we give you. Download the archive containing the original image and the file with the strokes (*.strokes). Read the instruction to see how to work with the strokes.
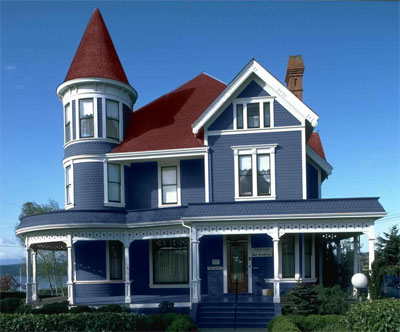
Earlier, in the example "Color options for the interior design", we showed how to use AKVIS Coloriage to change the color scheme of an interior design. Now we will deal with an exterior design. We will change the color of the house walls.
 |
 |
We have chosen the following photo as an example:
- Step 1. Open the photo in your photo editor and call the AKVIS Coloriage plug-in.
- Step 2. Select a color for the walls, for example, blue.
-
Step 3. Activate the Pencil tool
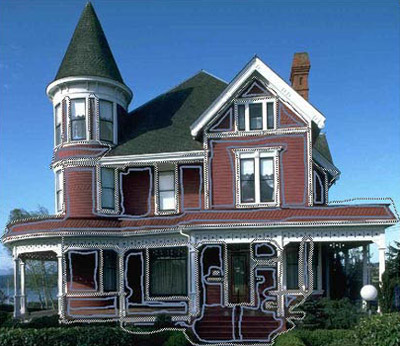
 in the Toolbar and draw a contour inside every red element of the house front.
-
Step 4. Draw a closed contour around every red element with the Keep Color Pencil
 and draw lines on all elements of the front that should not change their color.
To adjust the brush size of the Pencil, Keep Color Pencil and Eraser tools you can either use the fall-out scale that appears when you press their corresponding icons on the toolbar or use the hot keys [ and ] in the keyboard.
-
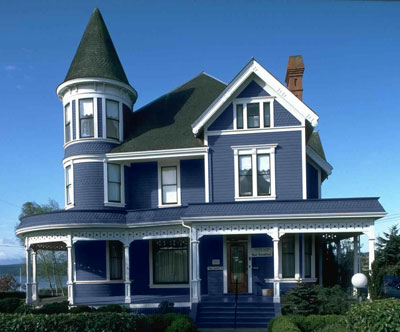
Step 5. Start the colorization process by pressing the button
 .
.
-
Step 6. Apply the colorization result by pressing the button
 .
.
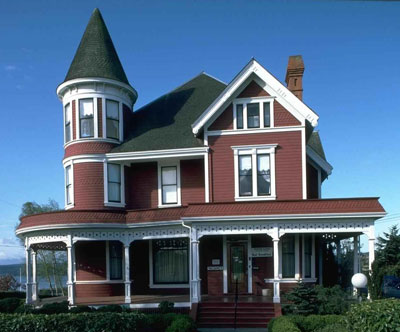
Below are some other versions of the walls' colorization.
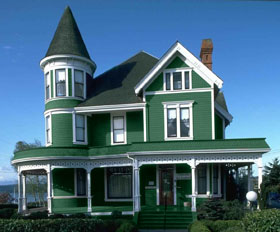
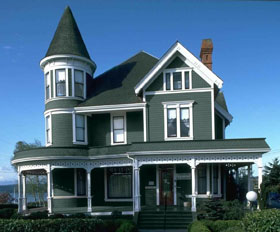
You can also change the color of the roof.
