Snow Bursts (New Year Greeting Card)
Questa pagina al momento è usufruibile in lingua inglese. La versione italiana sarà presto disponibile.
The example was made in the old version of AKVIS LightShop.
Read how to use the current version of the program.
The author of this example is Régine Lemasle.
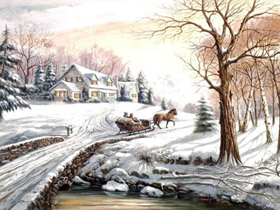
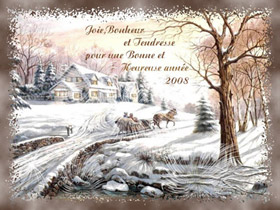
She created this nice New Year card using AKVIS LightShop and AKVIS ArtSuite.
|
|
| Original image | Result |
This example has been created in Adobe Photoshop.
- Step 1. Open your image.

- Step 2. First, decorate the image using the AKVIS LightShop plugin.
Call the plugin (Filters -> AKVIS -> Lightshop). Choose one of the presets, for example Sample03 and change the settings as you like. Press the button
 . The result will be shown in the Image window.
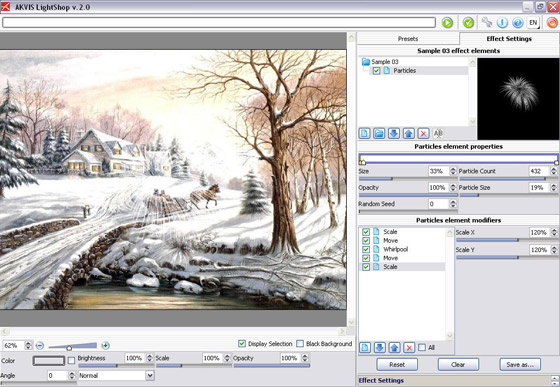
Press the button
 to apply the result and close the plugin window.
 - Step 3. Call AKVIS LightShop again and choose another preset (Sample 02). Set the parameters and press the button
 .
.
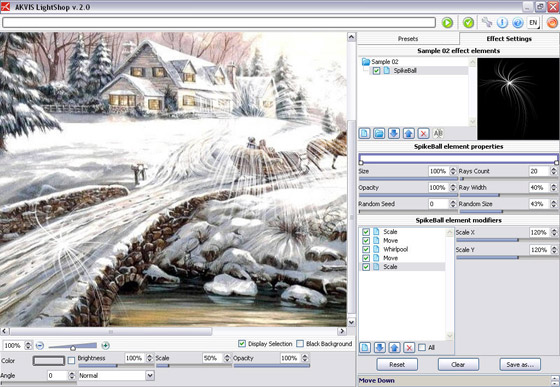 Press the button
 - Step 4. Repeat the Step 3 or 4 several times. As a result you get an image with snow bursts:
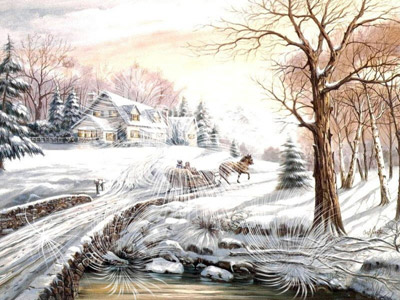
- Step 5. Now create an original photo frame. Call AKVIS ArtSuite (Filters -> AKVIS -> ArtSuite).
Select the Ragged frame from the drop-down menu.
- Step 6. Adjust the values of the parameters as shown below.
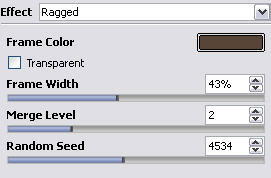
and press the button
 . The result will be shown in the After tab.
Press the button
 to apply the result and close the plugin window.
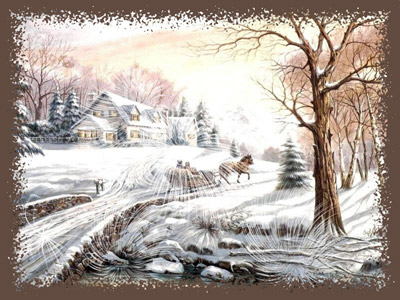
- Step 7. Now make our frame more "fancy". Select this frame using the Magic Wand tool,
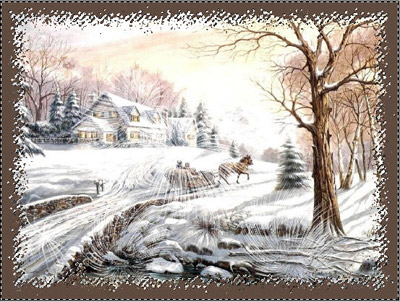
and then use one of the standard Photoshop filters (Filters -> Render -> Clouds).
- Step 8. Add the greetings.

Our New Year's card is ready:

Click the image to open its larger copy in a new window.
