Antique Collage: Artistic Use of ArtWork (Comics & Canvas)
La version française sera bientôt affichée.
The author of this tutorial is Chichi Martinelli (Lima, Perú).
This tutorial was made using Corel PaintShop Pro. The collage was made with the tube "Agrippina The Poisoness" from Dina, a mask with weak transparency and AKVIS ArtWork. Images can be found here. You can create a similar collage using any image. Working in JPEG format yields a good result.
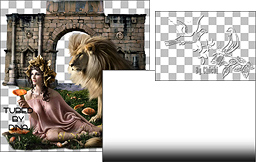
Follow these steps:
- Step 1. Open the tube of Agrippina the Poisoness in the graphics editor. Copy the picture and paste it as a new image (Edit -> Copy, then Edit -> Paste As New Image).
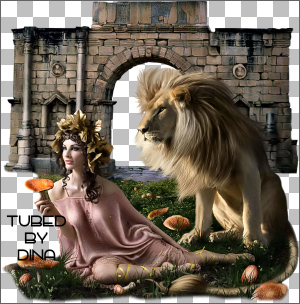
Original ImageOpen the Resize dialog Image -> Resize and resize the image to 1024 х 600 pixels. Name this layer ArtWork.
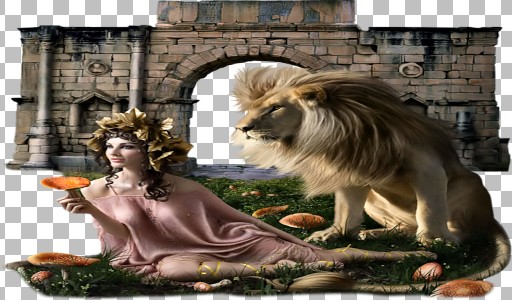
Changing the Size of the Image - Step 2. Use the Selection
 tool to select the center of the image and and apply a filter to fill the image with this selection: Effects -> Image Effects -> Seamless Tiling. Deselect with Ctrl+D.
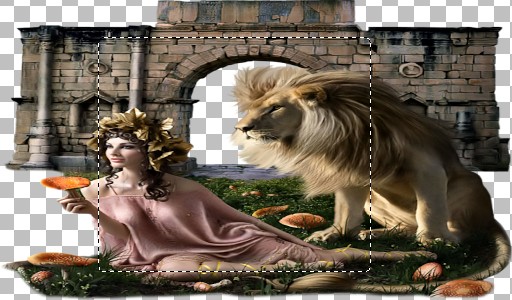
Making a Selection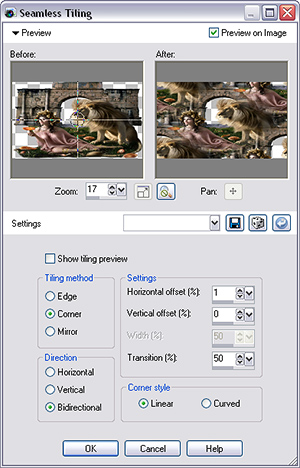
Seamless Tiling Filter Settings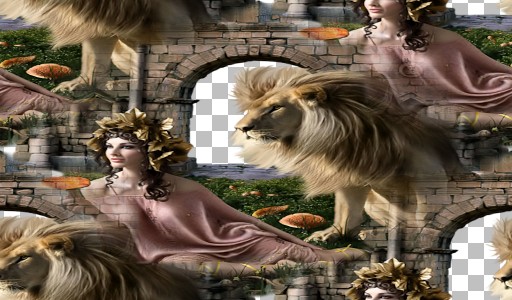
After Application of Seamless Tiling Filter - Step 3. Call the AKVIS ArtWork plug-in (Effects -> Plugins -> AKVIS -> ArtWork), choose Comics style in the Settings Panel, and set the parameters as shown in the screenshot.
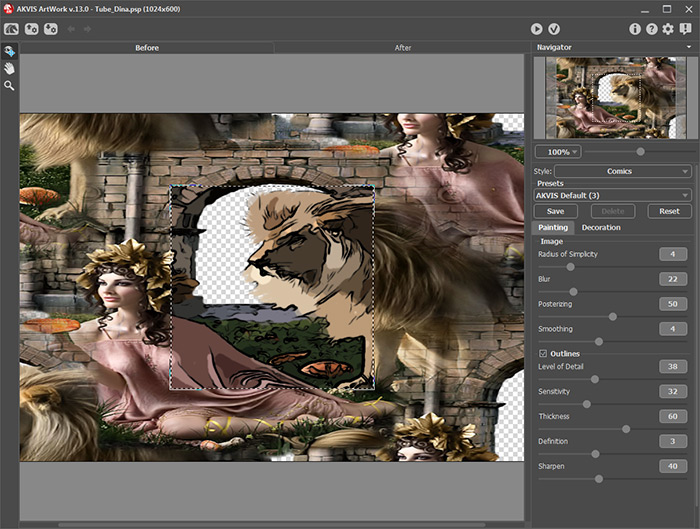
The AKVIS ArtWork Plug-in WindowAdd a texture (from the Canvas tab) and start processing the image by pressing
 .
.
To accept the result and return to the image editor, press
 .
.
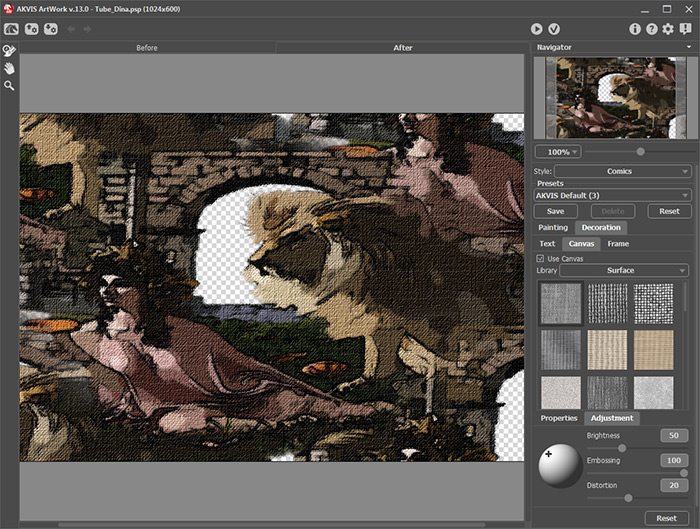
Adding a Texture - Step 4. Create a new layer, named Canvas, and place it beneath the image. Fill the layer with a gradient fill. To do this:
1) In the Materials palette, set the primary color (Foreground and Stroke Color) to #68594b, and the background color (Background and Fill Color) to #ceb590.
2) Click Foreground and Stroke properties.
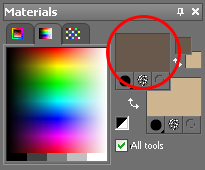
Materials Palette3) Open the Material Properties window. Click on the Gradient tab and set the gradient's parameters: Angle = 45, Repeats = 0.
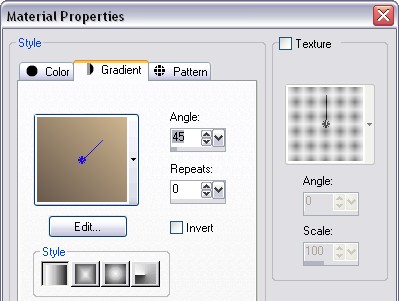
Gradient Parameters4) Choose the Flood Fill
 tool and click on the layer.

Filling the Layer with a Gradient - Step 5. Add some random noise: Adjust -> Add/Remove Noise -> Add Noise using a setting for Random of 50% and activate Monochrome. Sharpen the image using Adjust -> Sharpness -> Sharpen.

Adding Noise
Sharpening the ImageThen in AKVIS ArtWork apply the same texture as before:
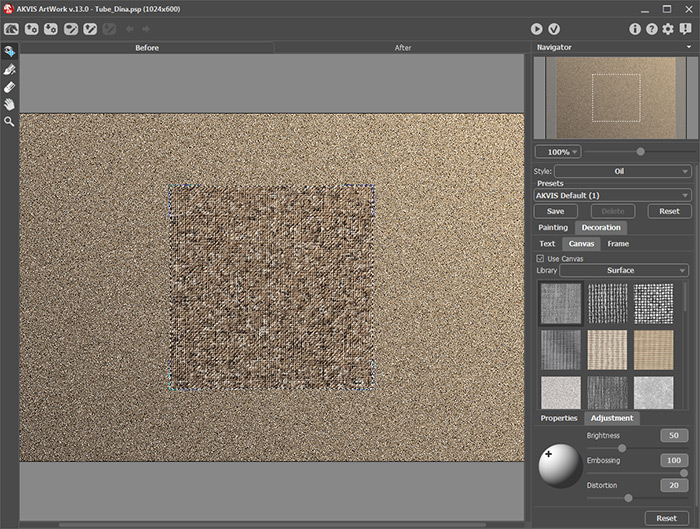
Adding a Texture - Step 6. Copy the layer containing the original tube (Edit -> Copy, then Edit -> Paste As New Layer). Name this layer Tube_Dina. Activate the Pick
 tool and set the size (Scale X, Scale Y) to 90% of the original and displacement 50 pixels to the right (+50 in Position X). In the Layers palette set Opacity to 85% and temporarily disable the layer's visiblity:
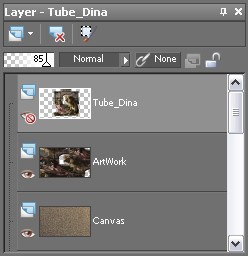
Layers Palette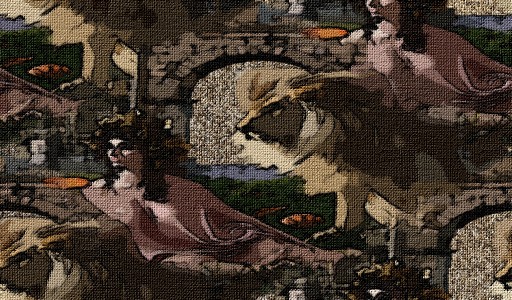
Image on Canvas - Step 7. Merge all visible layers with the command Layers -> Merge -> Merge Visible. The new layer will be named Merged.
Open a prepared mask with a faded edge.

Mask with Faded EdgeChoose Layers -> New Mask Layer -> From Image from the menu, select Add Mask From Image in the dialog menu, then enter the filename for the mask and select the Source luminance option. The mask will be applied to the image and will be placed with it in a group. For a stronger effect duplicate the mask within the group: Layers -> Duplicate.
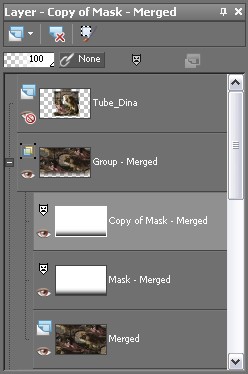
Mask Group in Layers Palette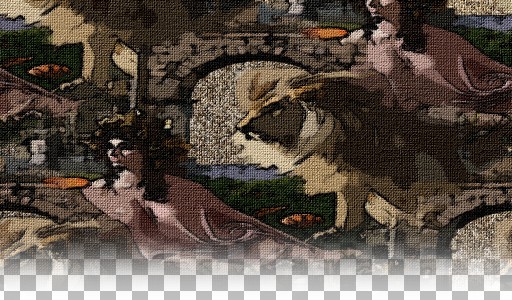
Mask, Superimposed on the Image - Step 8. To continue it's necessary to merge the group containing the image: Layers -> Merge -> Merge Group. The resulting layer will be named Group - Merged.
Resize the canvas, by changing the size in the Image -> Canvas Size dialog to 1024 х 650 by changing Bottom to 50. Make a new layer named Brown, place it below the image and fill it with the color #68594b.
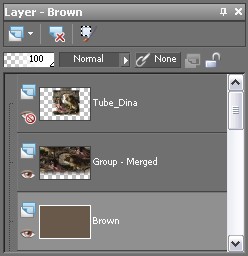
Layers Used in the Last Stage of Processing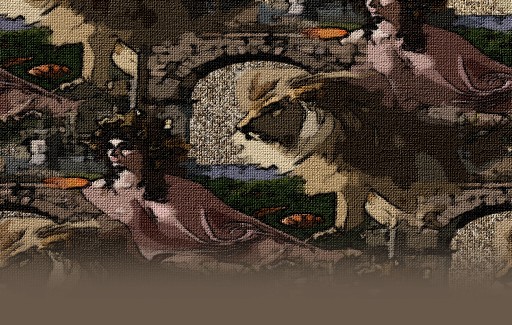
Image With New Background - Step 9. Turn on the visibility of the top layer Tube_Dina, and merge all visible layers Layers -> Merge -> Merge Visible. Finally, sign the picture and add a watermark.

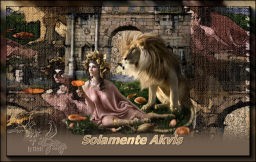
Result
