A Wedding Photo Collage
The author of the example is David Kelly.
When I first read AKVIS' description of Chameleon, i.e. "Chameleon is an efficient tool for photo collage creation" my initial thought was that this Paint Shop Pro, Photoshop compatible plug-in would have limited practical use and didn't seem to fit into any "photo-fixer" category. However, there's more to digital image-editing than just repairing damaged photographs, and after establishing exactly what AKVIS were claiming for Chameleon and its various working modes I decided to find out if creating an eye-catching photo collage was really as easy as their website claimed.
We shall see. Let's create a collage using a wedding photo and the image of two wedding rings. We would like to make the collage in which the wedding rings do not distract from the bride and groom, but instead emphasize the romance and beauty of that special moment.


AKVIS Chameleon has four operating modes for making collages.
In this example the author used Blend mode.
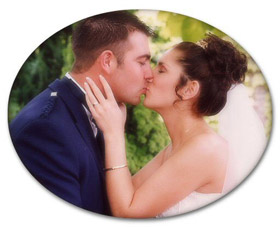
The original photo used in the collage is shown below. We will use Paint Shop Pro 9 to make the collage.

- Step 1. The original photograph was loaded into Paint Shop Pro 9.
- Step 2. Create a new 92dpi, 360 x 290 pixel-sized image with a white background. Its size or colour isn't critical. It just has to be large enough to take the new "his and her" gold wedding rings image.
- Step 3. Add a new raster layer (blend mode normal) to the new image.
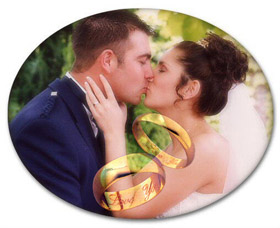
- Step 4. Use PSP9's Picture Tube tool to place a new image consisting of two previously created "his and her" gold wedding rings of the correct size on to the new raster layer. Note; as an alternative to a Picture Tube image a selected object from an existing image or photo could have been used and resized as required.
- Step 5. Copy the wedding rings image to the clipboard, using the command Effects -> Plugins -> AKVIS -> Chameleon - Grab Fragment.
- Step 6. Return to the wedding photo.
- Step 7. Call the AKVIS Chameleon plug-in by choosing Plug-ins -> AKVIS -> Chameleon - Make Collage from the Effects menu.
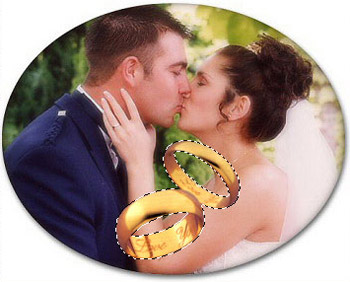
- Step 8. Use the Transform
 tool to move the rings to the bottom of the photograph.

- Step 9. Choose Blend mode from the list of modes.
- Step 10. Start processing the collage by pressing
 .
.
- Step 11. Press
 to apply the result and close the plug-in.
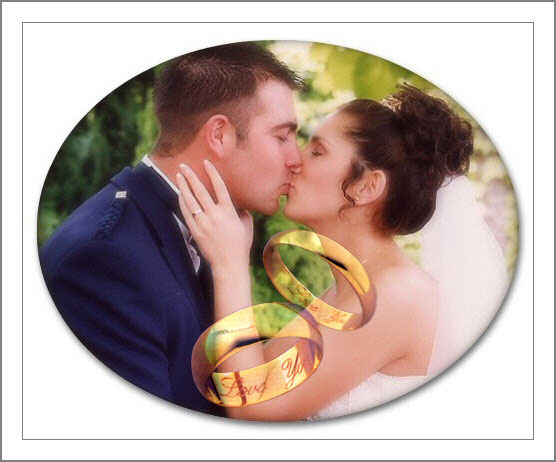
The collage is ready. As you can see the AKVIS Chameleon plug-in worked just as described. The rings are transparent, and through them shines the image of the newlyweds, while the inscription "I Love You" can still be read.

