Pencil Portrait
あいにく, このページは英語にだけ使用可能です。
The author of this tutorial is Karl Hartmann (Germany).
AKVIS Draw lets you create drawings, which are almost indistinguishable from hand-made sketches! This example demonstrates how to create an original pencil drawing with AKVIS Draw.
- Step 1. Open the image in AKVIS Draw or in your graphics editor (for example, AliveColors).

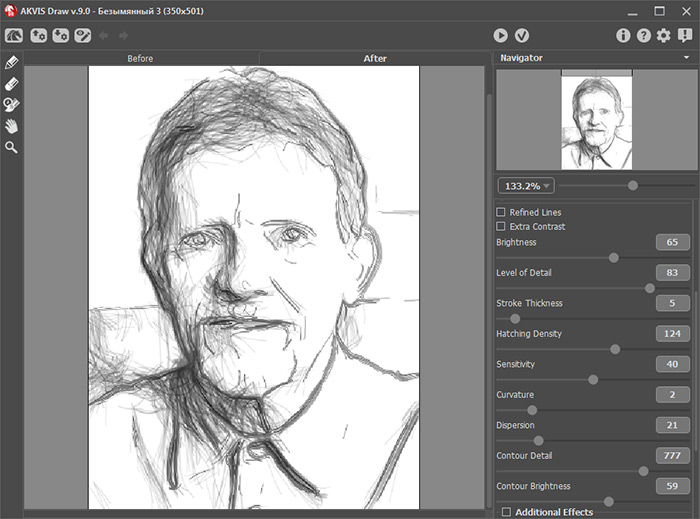
Photo - Step 2. The image will be automatically converted to a pencil drawing.

AKVIS Draw Window - Step 3. On the right side you will see various controls. Move these controls to change the processing effect.
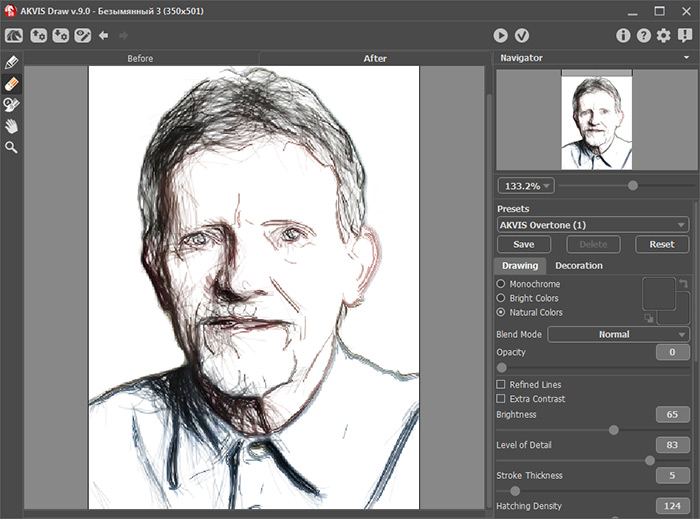
The presets are located under the settings sliders. Click the down arrow to display the drop-down list of presets. Click on any preset to apply it to your image. When you get a result that you are happy with, click on
 . The drawing is finished, now you can save it.

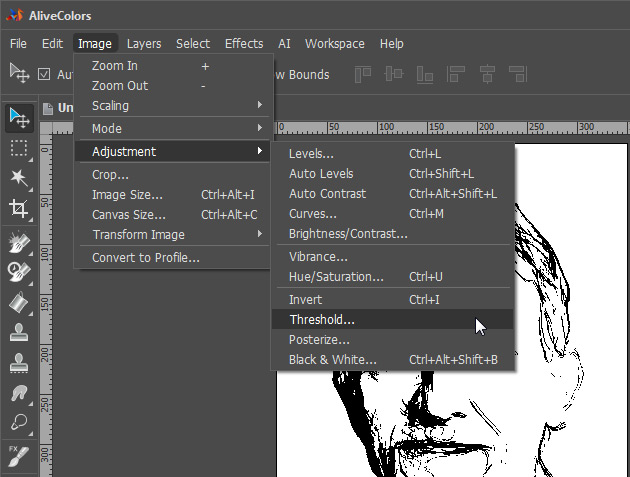
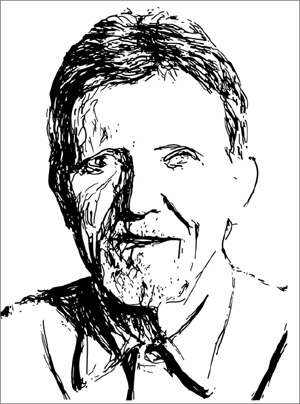
Adjust Parameters - Step 4. You can now turn this drawing made in AKVIS Draw into a black-and-white high-contrast sketch. For this purpose in AliveColors select the menu item Image -> Ajustment -> Threshold and adjust the Threshold level. The image now looks like it was drawn with ink.

Adjust ThresholdOr you can keep the colors of the image and place it on a suitable background.

Black-and-White Drawing
Drawing on Colored Background

Original Photo

Result (Black-and-White)

Result (in Color)
