Using The Program
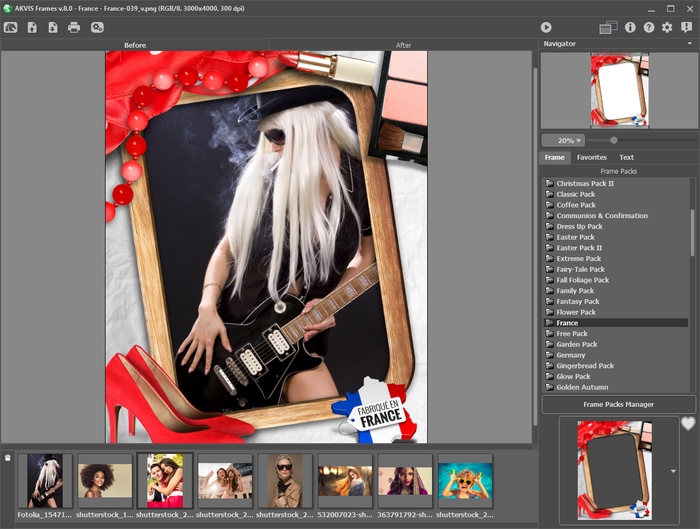
AKVIS Frames is a free photo editing program designed for working with the AKVIS frame packs.
Follow these steps to apply a frame to your picture:
- Step 1. Press the
 button and choose one or more images which you want to frame (JPEG, RAW, PNG, BMP, WEBP, or TIFF files).

AKVIS Frames WindowThe thumbnails of the images are displayed under the main window. The selected image is outlined with a gray line. To choose another image just click on it. You can close images by removing them from the list with the button
 or with the Delete-key.
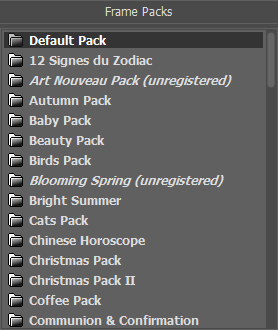
- Step 2. Select a frame pack in the list of the installed packs.
In the list of the frame packs, you can see the Default Pack that comes with the program, and all frame packs you downloaded and installed. Read how to add frame packs to the program.

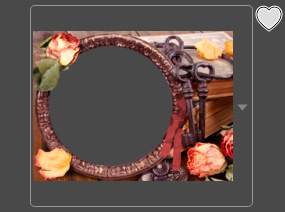
When you select a pack, its sample is displayed on the square button.

Click on it to see all frames in the pack and choose the desired one.
Hint: You can also use your own frame - any image with one or more transparent areas of any shape in the PNG format. To load your own frame, select <Custom>… in the list, and choose the file.
- Step 3. The program takes the first photo from the loaded images to place in the frame.

You can drag the desired picture into the frame.

You can also double click on the image to place it in the frame.
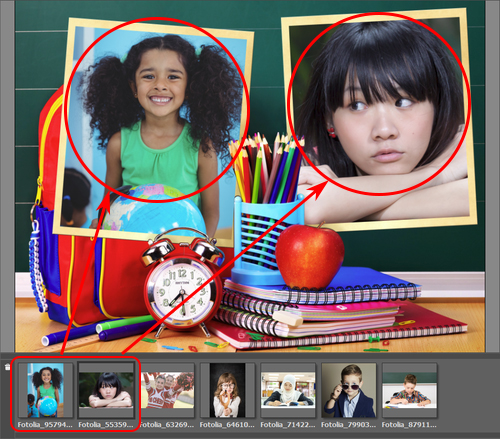
Note: Transferring a photo to a frame by double-clicking is useful for the frame with only one hole. If there is more than one transparent area, the program will choose a photo based on its aspect ratio in relation to the area. For example, horizontal photos (which have greater width than height) would be placed in horizontal areas, etc.
- Step 4. Adjust the size, the position, and the rotation angle of the photo in the frame.

- Step 5. When all adjustments are done, press
 to start processing. The edges of the image will be smoothed and hidden to fit the frame.
- Step 6. You can add text, watermark, or logo to your image. Switch to the Text tab and enable one of the options: either Text or Image.
- Step 7. You can also print your picture with
 .
.
- Step 8. To save the final result press the
 button and in the Save As dialog window enter a name for the file, select the file type (TIFF, BMP, WEBP, JPEG, or PNG) and choose a folder in which to save the file.
Attention! When working with a frame, the original photos are converted to the frame's format. Therefore, if the frame's format is RGB/8, the photo will be converted to this format as well. Keep this in mind when creating your own frames.
Note: Theme frame packs (except the Free Pack) will be available only after their activation!
