An Old Brewery in a New Light
The author of this example is Holger Gerlach.
"Once, while surfing the Internet, I ran across some pictures that impressed me: bright colors, very fine details... I decided to try creating such images by myself. Later I learned that the technology used was called HDRI technology. Since then I have tried different programs supporting HDRI technology but the best for me is AKVIS Enhancer".
This tutorial has been created in the standalone version of AKVIS Enhancer.

|

|
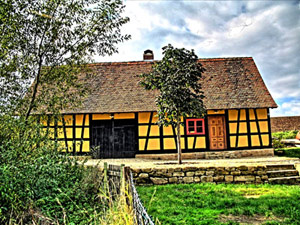
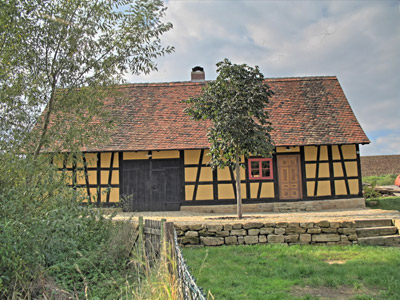
| One of the original images | Result: HDR-image made in AKVIS Enhancer |
Step 1. Run AKVIS Enhancer standalone.
- Step 2. Open a series of shots (use the button
 ).
).
Select the required files in the dialog box. The author used 5 shots.

- Step 3. First we work with the Options tab for HDR mode.
We get a HDR image generated with the default parameters.
The result will be shown in the After tab.
You can see the difference between the images. Now you see the details that were dark.

Let's improve the image. Change the values of the parameters.

Compare the original image and the final result:


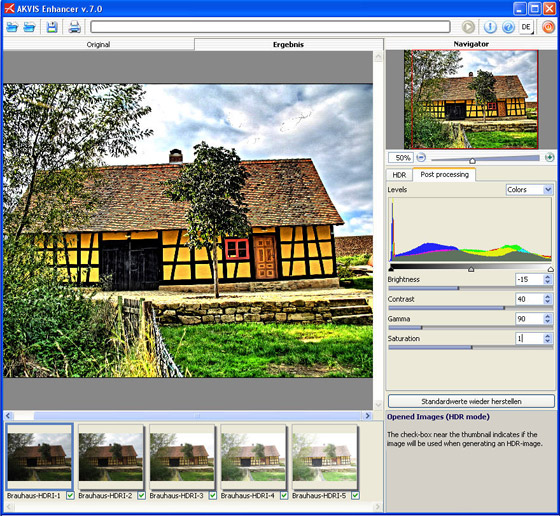
One of the original images Result after using AKVIS Enhancer (Tone Mapping) - Step 4. Now switch to the Post Processing tab and set the parameters as shown below.

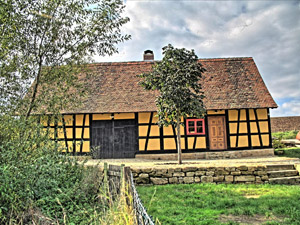
Here is the result:

As you could notice I mostly played with the Saturation and Contrast parameters in the last step. Personally, I like the result. But tastes differ.. So adjust the settings as you like.
- Step 5. Save the result by pressing the button
 and close AKVIS Enhancer.


One of the original images Result after using AKVIS Enhancer (+Post Processing)
