Building Up Images' Borders
Désolé, à présent cette information n'est disponible qu'en anglais.
La version française sera bientôt affichée.
La version française sera bientôt affichée.
The author of this tutorial is Irene Briz (Lake Como, Italy).
Quite often we must deal with photos that have been cropped incorrectly, where objects within them are off-center, or very close the edges of the image.
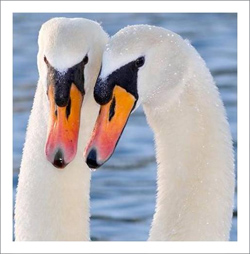
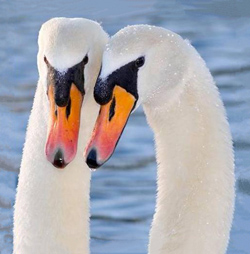
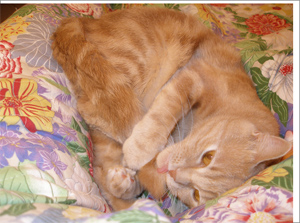
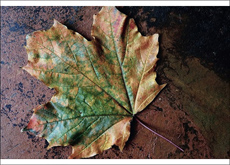
The perception of such images will change if the image is restored, extending the edges of the image. A correctly positioned object will look more appealing, and most importantly – it will no longer be a fragment. It will achieve perfection.
Here is how to restore missing parts of an image with AKVIS Retoucher.
- Step 1. Open image in the graphics editor.

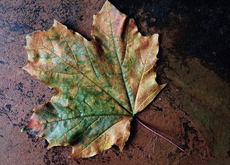
Original Photo - Step 2. Go to Image -> Canvas Size and increase the size of the canvas on the side where you want to extend the image - in this case the top and bottom side by 40 pixels.
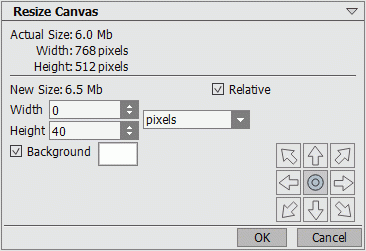
Changing Canvas Size - Step 3. Use the Rectangular Selection
 tool to select an empty area, along with a bit of the pattern of the edge.
Run the AKVIS Retoucher plug-in: Effects -> AKVIS -> Retoucher, and switch to Advanced mode.
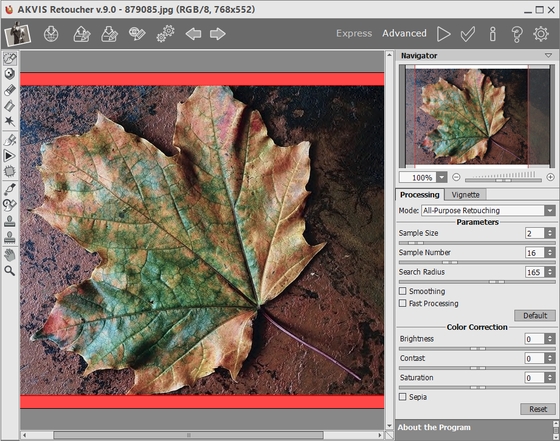
AKVIS Retoucher Workspace - Step 4. Reduce the value of Search Radius to 40, disable the Fast Processing check box, and start processing the image by pressing
 . Here is the resulting image:
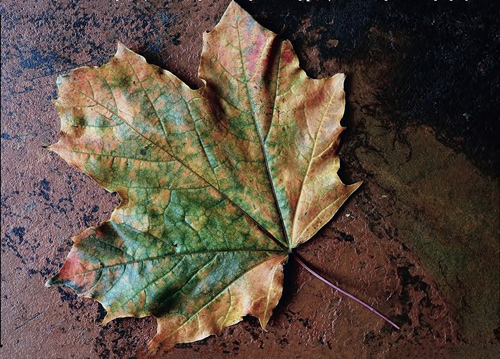
Image With Restored Edges - Step 5. Details in the image can be corrected using the Clone Stamp
 and Chameleon Brush
  tools. Once you are satisfied with the result, press
  to apply the result and close the plug-in's window.

ResultHere are some other examples of images with built up edges:
