Exposure Correction
In the following tutorial David Kelly shows how to correct a photo taken with wrong exposure.
As the AKVIS website already contains comprehensive Enhancer user tutorials, this article focuses on the results achieved when three photographs with exposure problems were processed using AKVIS Enhancer.
The Photos
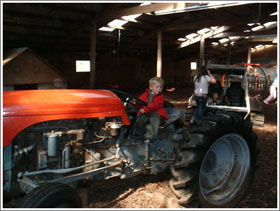
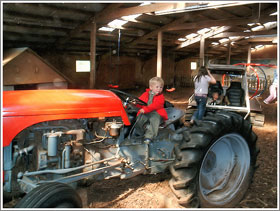
The photographs used as examples were snapped using a 2 megapixel compact digital camera, and because of their obvious exposure problems were a good choice to show off Enhancer's ability to recover hidden image details. Enhancer was used in conjunction with Corel's PaintShop Pro 9. As you will see, the original photos and their Enhancer processed equivalents are noticeably different.
AKVIS Enhancer + PaintShop Pro 9
Here is a screenshot of Enhancer loaded into PSP9:

Image 01, Default Settings
AKVIS Enhancer + AKVIS Retoucher
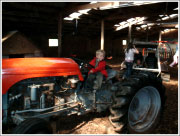
The original tractor photograph (Image 02), after being processed with Enhancer was also cleaned up using the AKVIS Retoucher cloning tool, which was also used to remove the date from the two holiday snaps, plus replace the missing bottom-right corner of the Goa sea-cave photograph.
The Original Tractor Photo Plus Enhancer Version
Before using Enhancer, PSP9's Digital Camera Noise Removal filter was applied to the original tractor photo to decrease its noise levels. To view the Enhancer processed version click Image 03.
Note: AKVIS has released its own digital noise reduction product, Noise Buster, to check it out please click here.
Notice in Image 03, the Enhancer version, how previously hidden details, particularly in the photo's underexposed areas have been revealed. Unfortunately, with this particular snapshot there's a downside, light grey halos and white spots have appeared! Mostly invisible until Enhancer worked its magic, they're now fairly obvious. Fortunately AKVIS Retoucher is available to sort out this new problem.

Image 04, Enhancer + Retoucher
The Enhancer + Retoucher Photo
In Image 04 you see how the Enhancer version looked after Retoucher was used to remove the halos and white spots. To compare the same section of original tractor photo with its Enhancer + Retoucher equivalent, have a look at Image 05. The results speak for themselves.
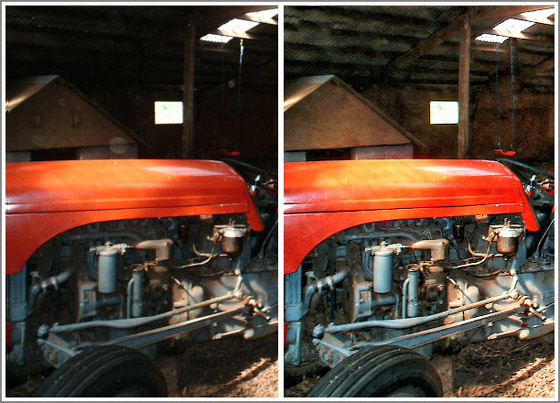
Image 05, Side-by-side comparison
The Original Holiday Snaps
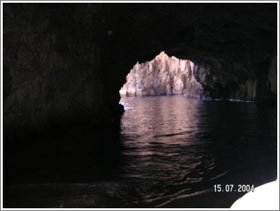
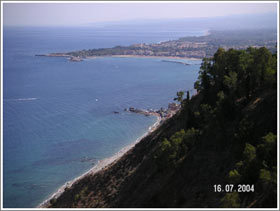
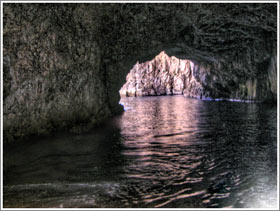
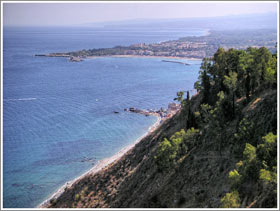
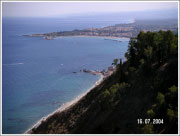
When you click Image 06 and 07 to view the original Goa sea-cave and Sicily seascape photographs, you will see that both exhibited exposure problems similar to the original tractor photo resulting in lost detail, again in the underexposed areas.
Click on an image to view a larger version
Enhancer + Retoucher Holiday Snaps
Click Image 08 below to see how Enhancer has revealed the sea-cave's hidden detail without spoiling its sun-drenched entrance/exit. AKVIS Retoucher was also used to delete the date, and replace the photo's missing bottom-right corner section. Retoucher's ability to seamlessly blend cloned patches with the target background made it possible to replace the missing section with the "white water ripple" effect.
The Sicily seascape holiday snap also benefited from Enhancer's ability to reveal hidden detail, while at the same time adding depth and clarity. Again Retoucher was used to seamlessly remove the photo's date. Click on Image 09 to view the impressive results.
Click on an image to view a larger version
Conclusion
When the original photos are compared to their AKVIS Enhancer equivalents you can see that not only have previously hidden details been revealed, but also each photo's colour depth and clarity have been improved.
Why struggle with your image-editing program's Level and Curve controls to fix your underexposed or overexposed photographs when AKVIS Enhancer provides fast, effective detail recovery with improved clarity, and with virtually no effort.
AKVIS Enhancer is a product that does exactly what it says on the box. Not only would it be a worthwhile addition to any digital imaging enthusiast's toolbox, digital camera snapper's with compatible image-editing software would also find it very useful.
